Week 2
project proposal and personal website
Assignment Prompt
-
Create a press-fit construction kit that can be assembled in multiple ways, and accounts for lasercutter kerf.
-
Work through a Fusion 360 tutorial and document what you produce.
-
Select at least 2 household objects or components from the lab. Measure them using calipers, and model them in Fusion 360 or other program. Create an assembly using these components, and document your work on your webpage. You may also incorporate items from other 3D model repositories like GrabCad.
Process
-
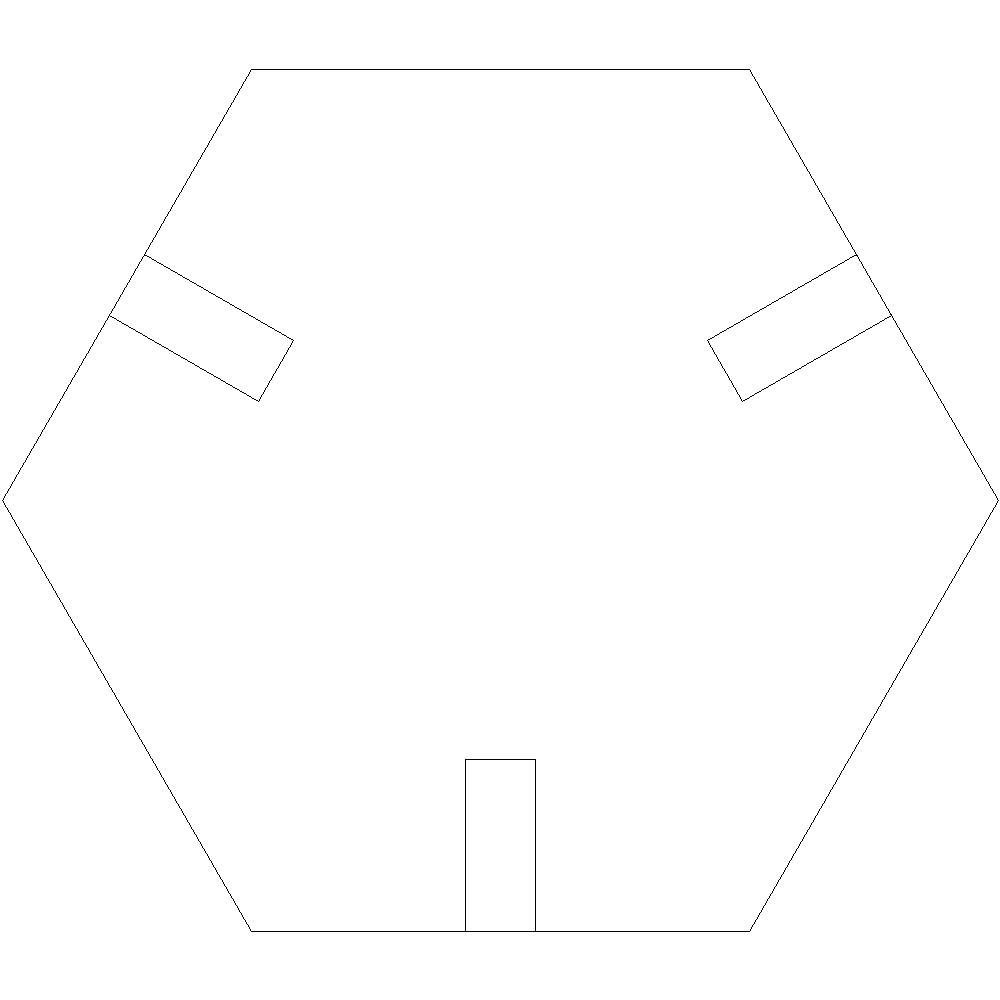
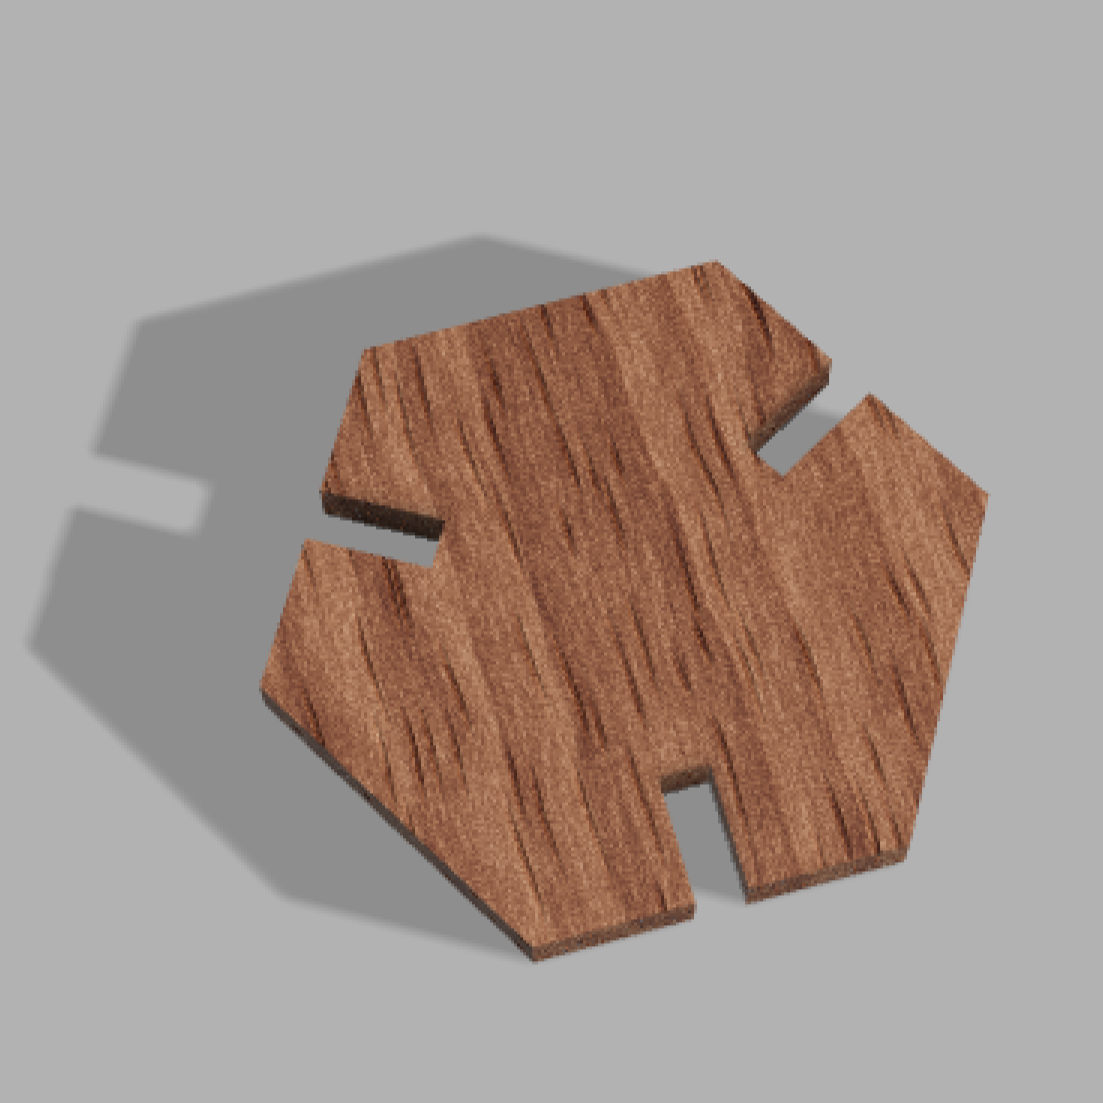
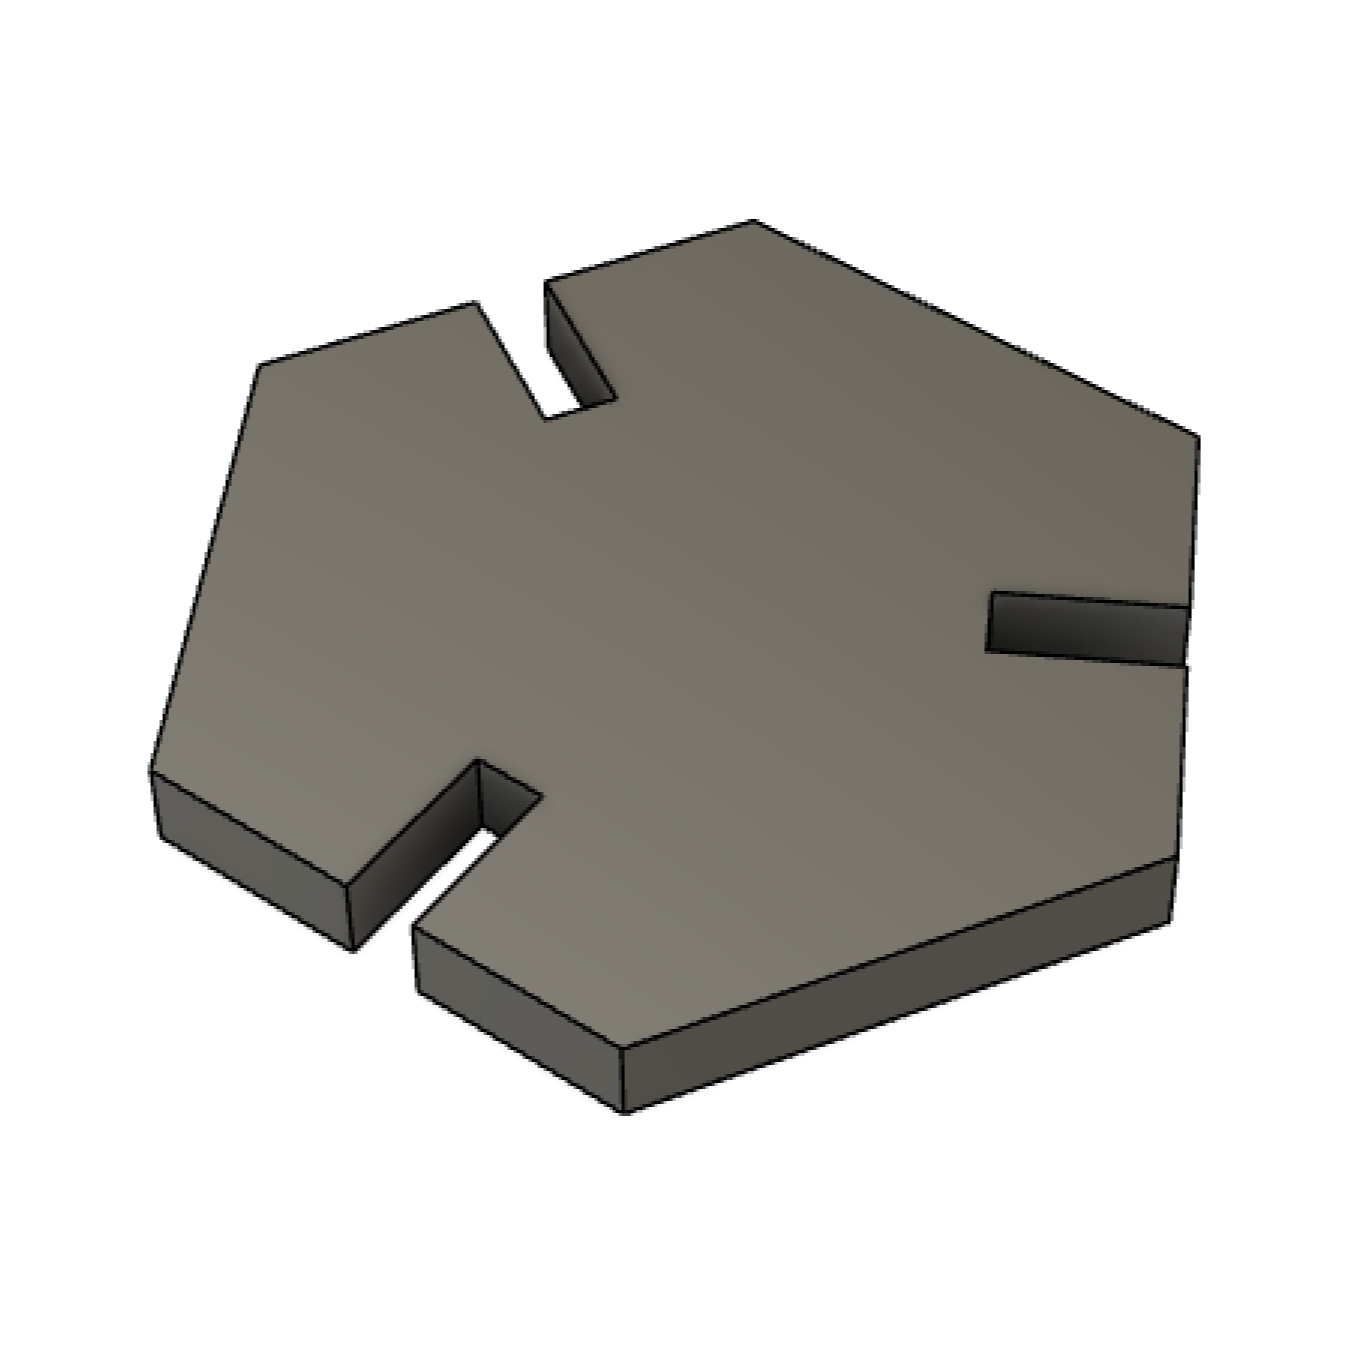
A while back, when I was maybe 12 or 13, I got a 3D press-fit puzzle. Each square piece was decoated and had random slots to fit with other pieces. I can't remember the name of it, but I used to build towers and things with it. For this project, I decided to do something similar, but with a more interesting shape: hexagons. I made a circumscribed hexagon with a 25mm radius, and then three slots. The width of the cardboard is 4.1mm and the kerf accounted for roughly 0.05mm, so I let the width of the slots be 4.05mm.
-
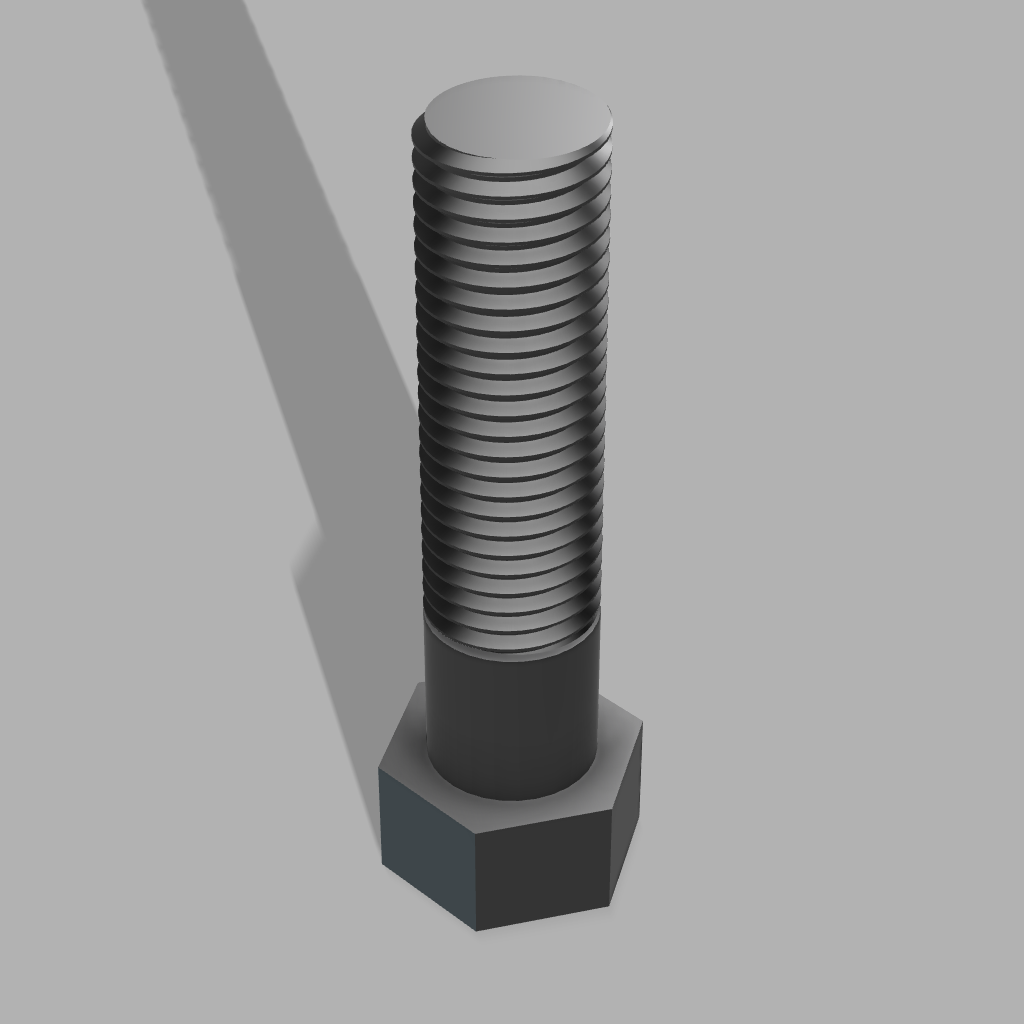
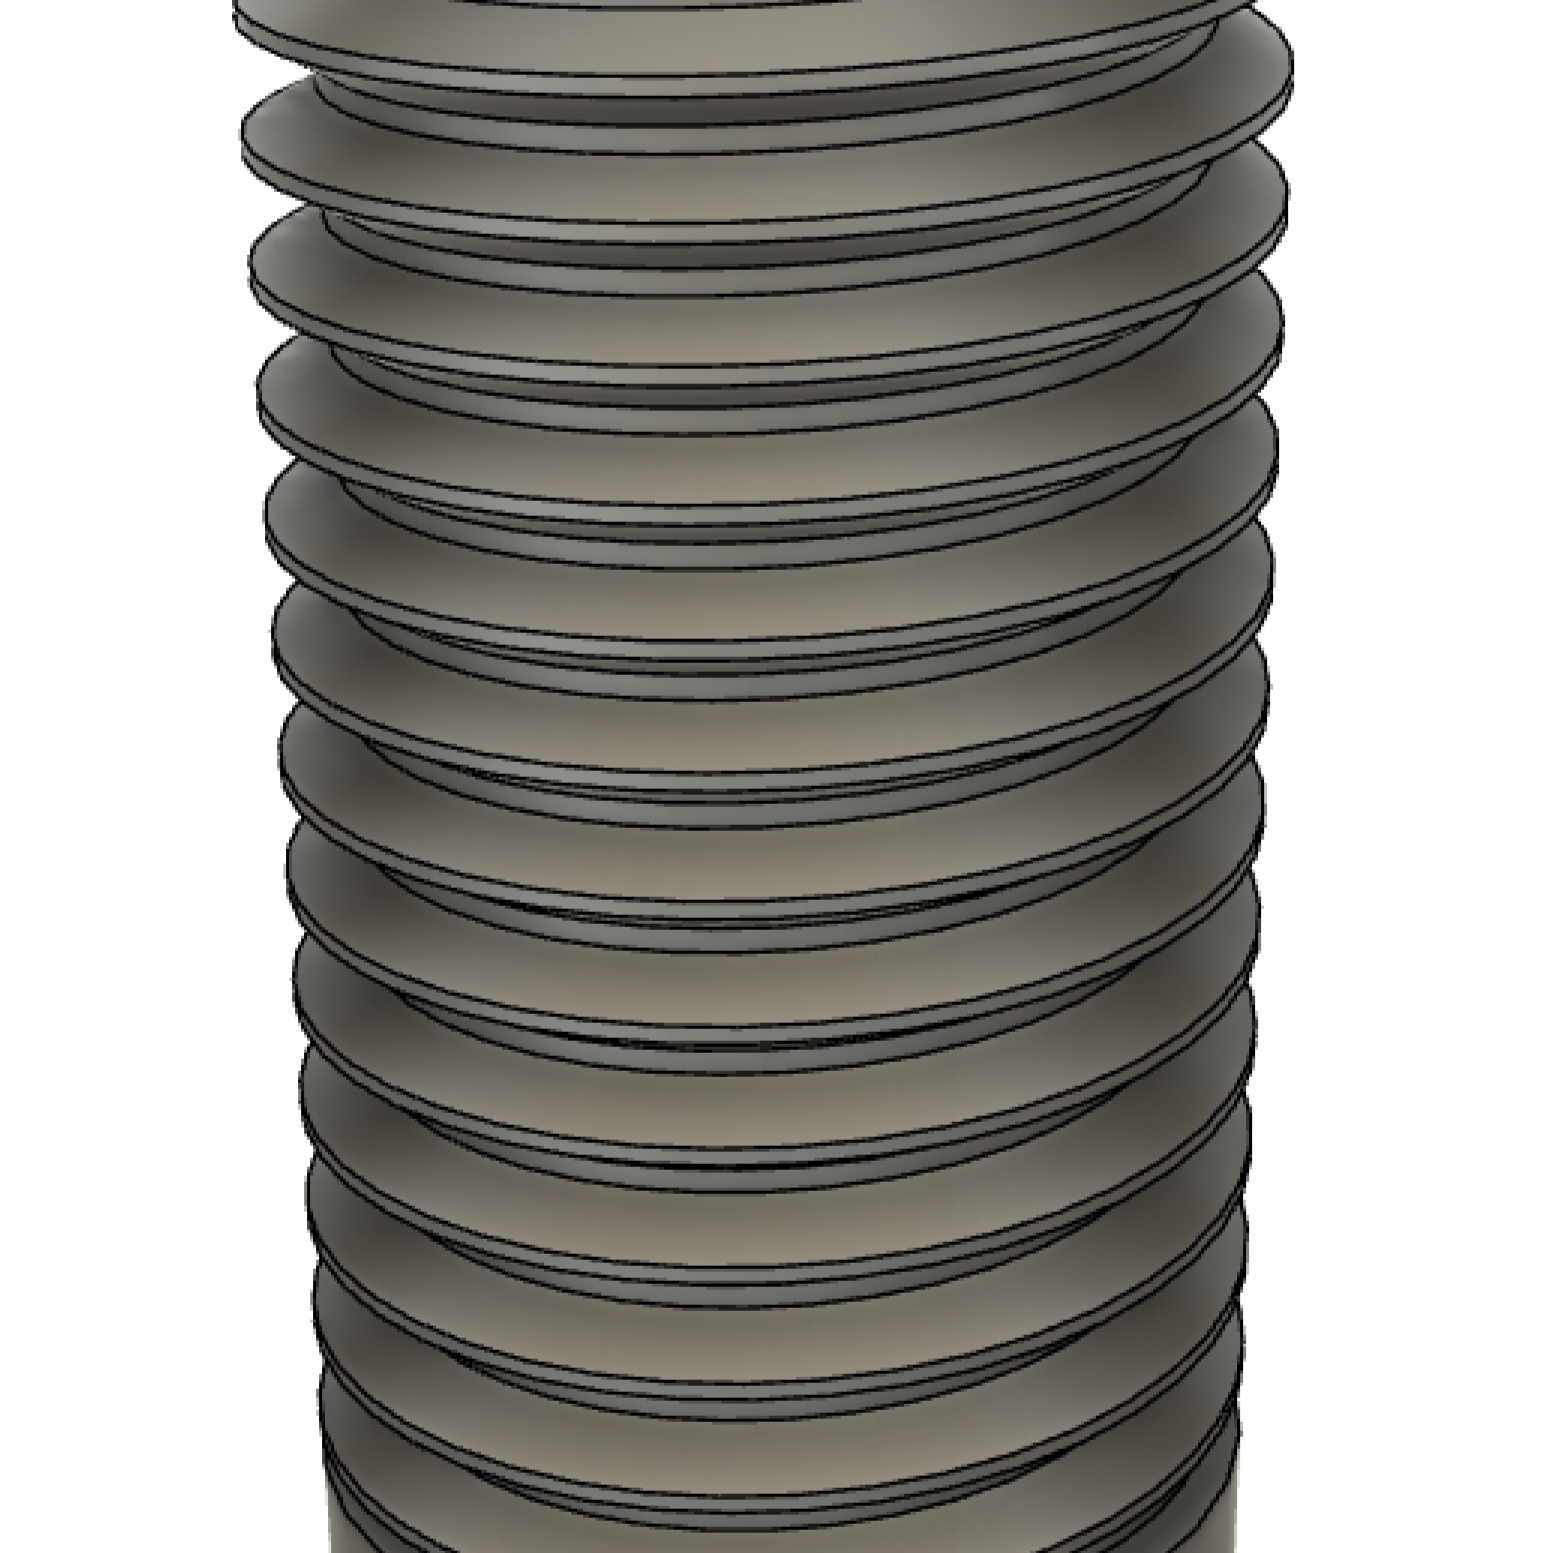
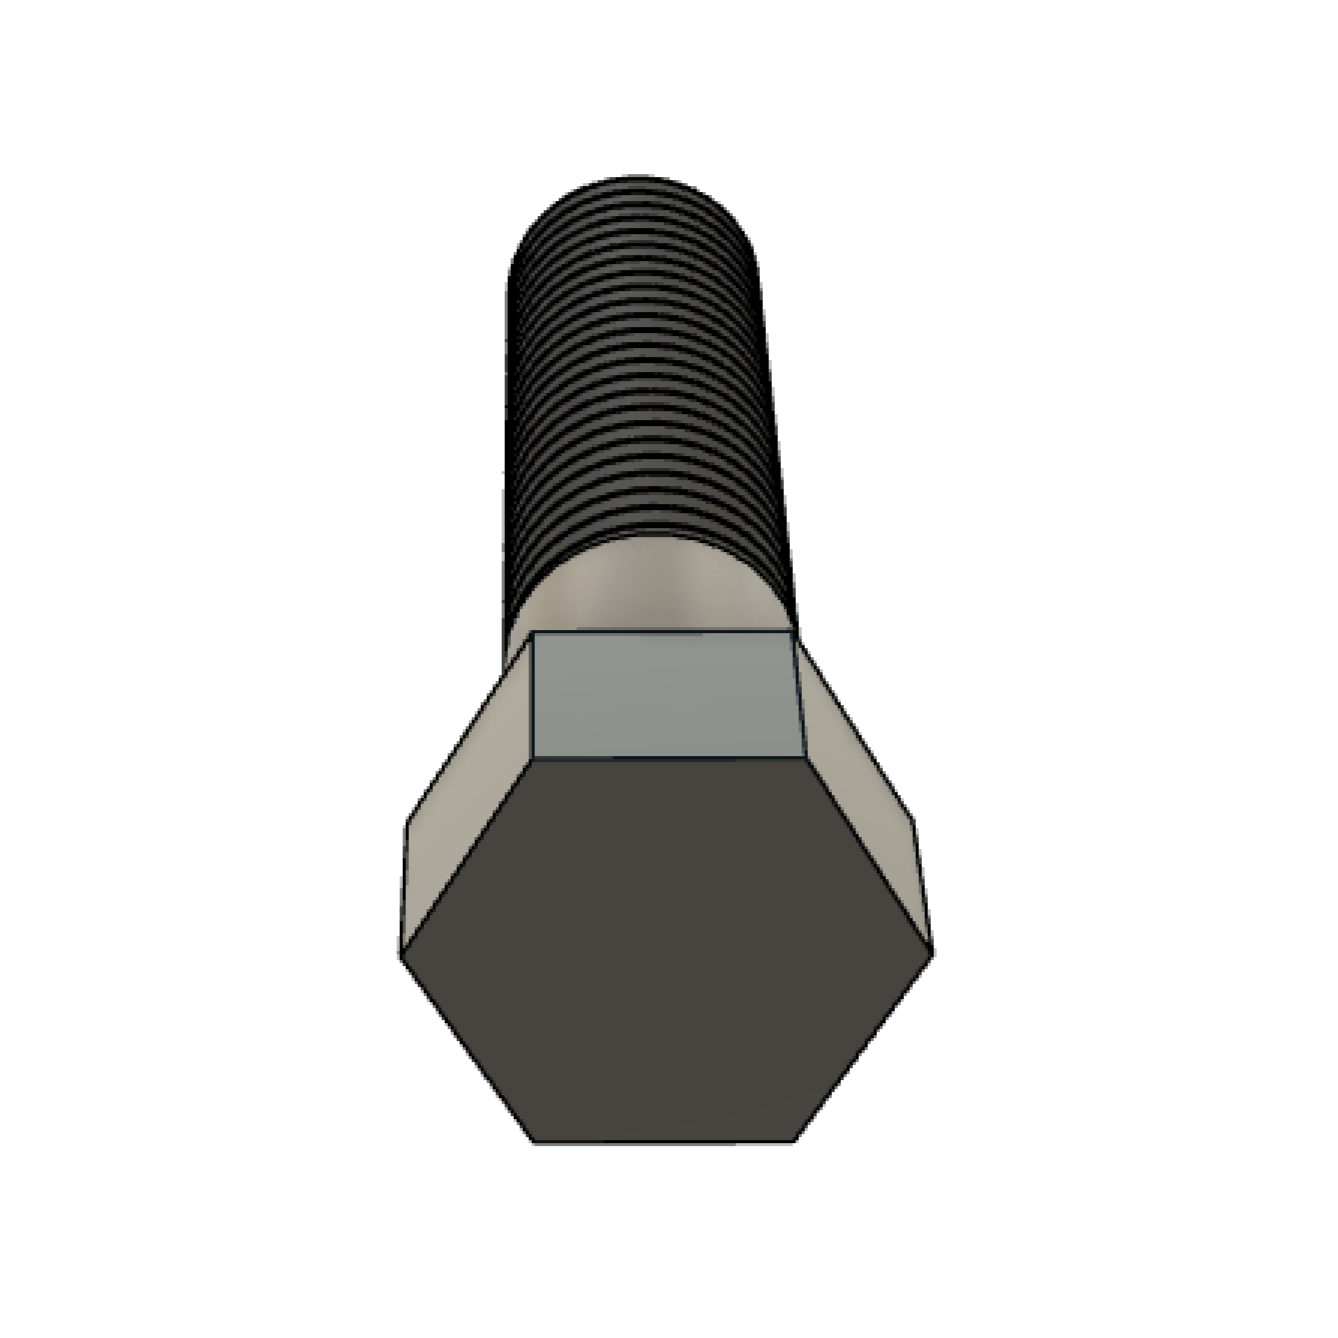
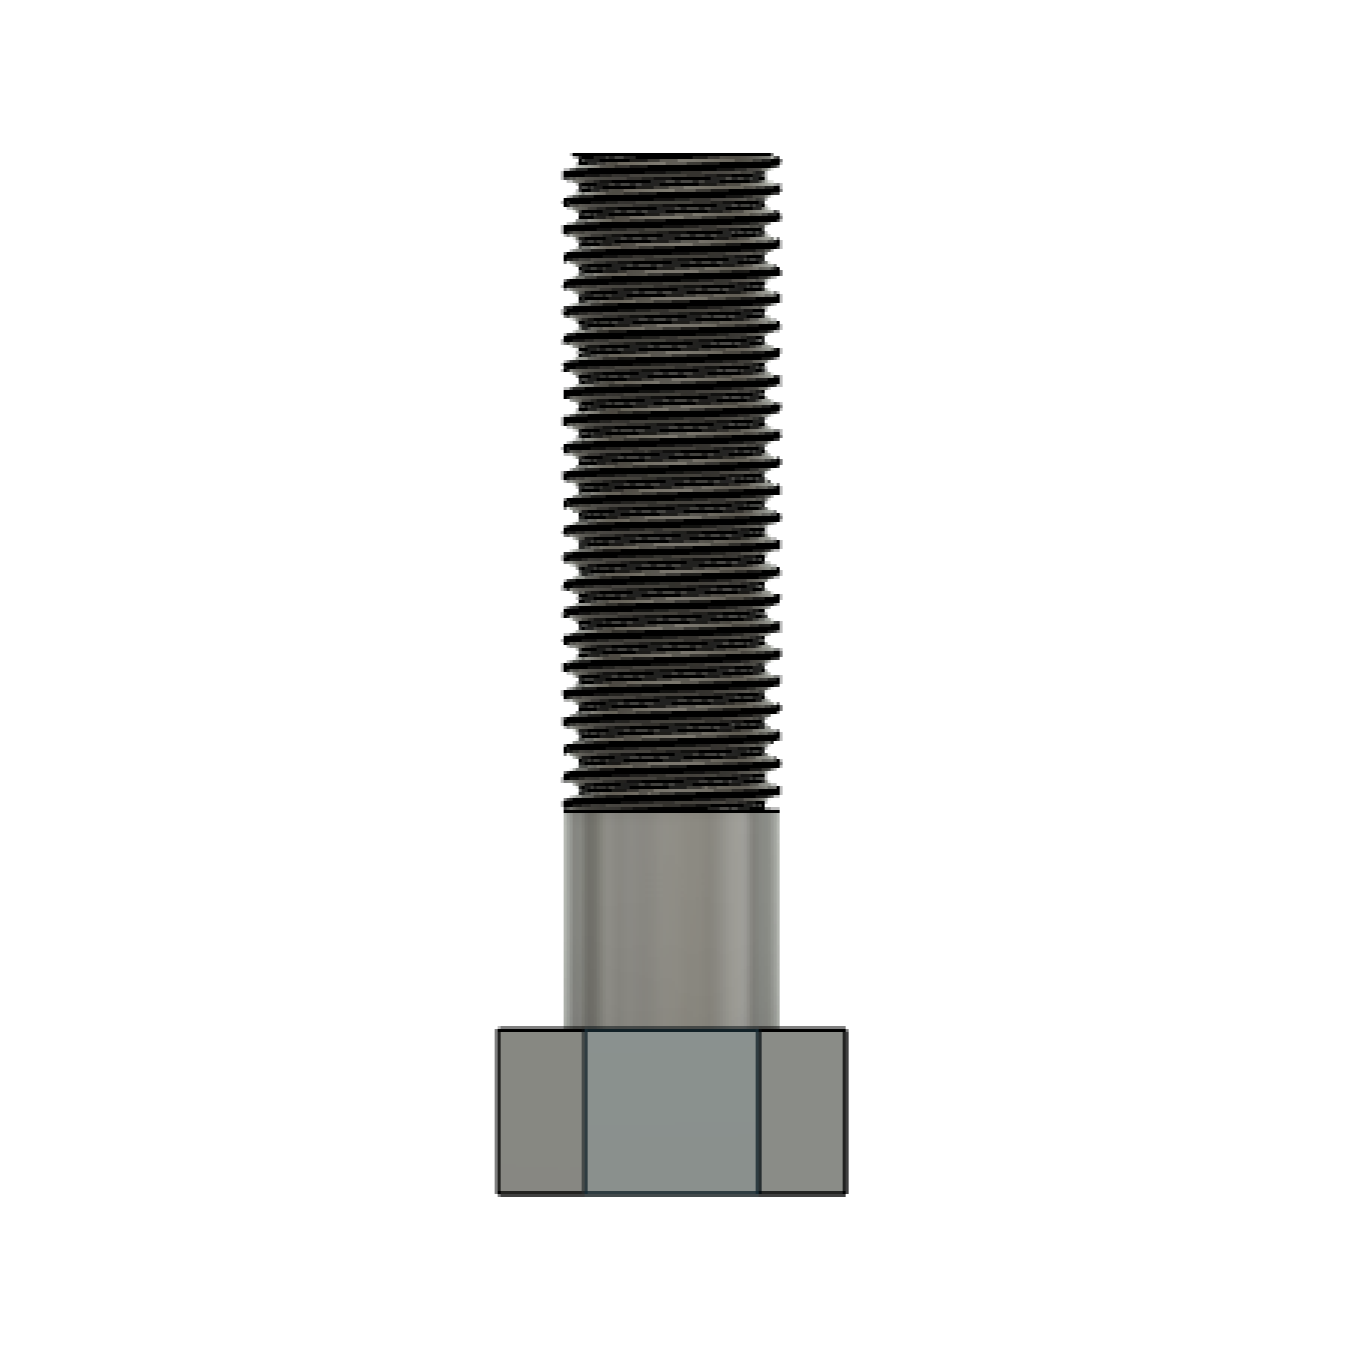
For this assignment, I thought making a bolt would be fun. I found a tutorial here on Youtube. He spoke really slow, almost unbearably slow, but I enjoyed it. It introduced me to a lot of important concepts, so I'm looking forward to using those skills in my household modeling assignment.
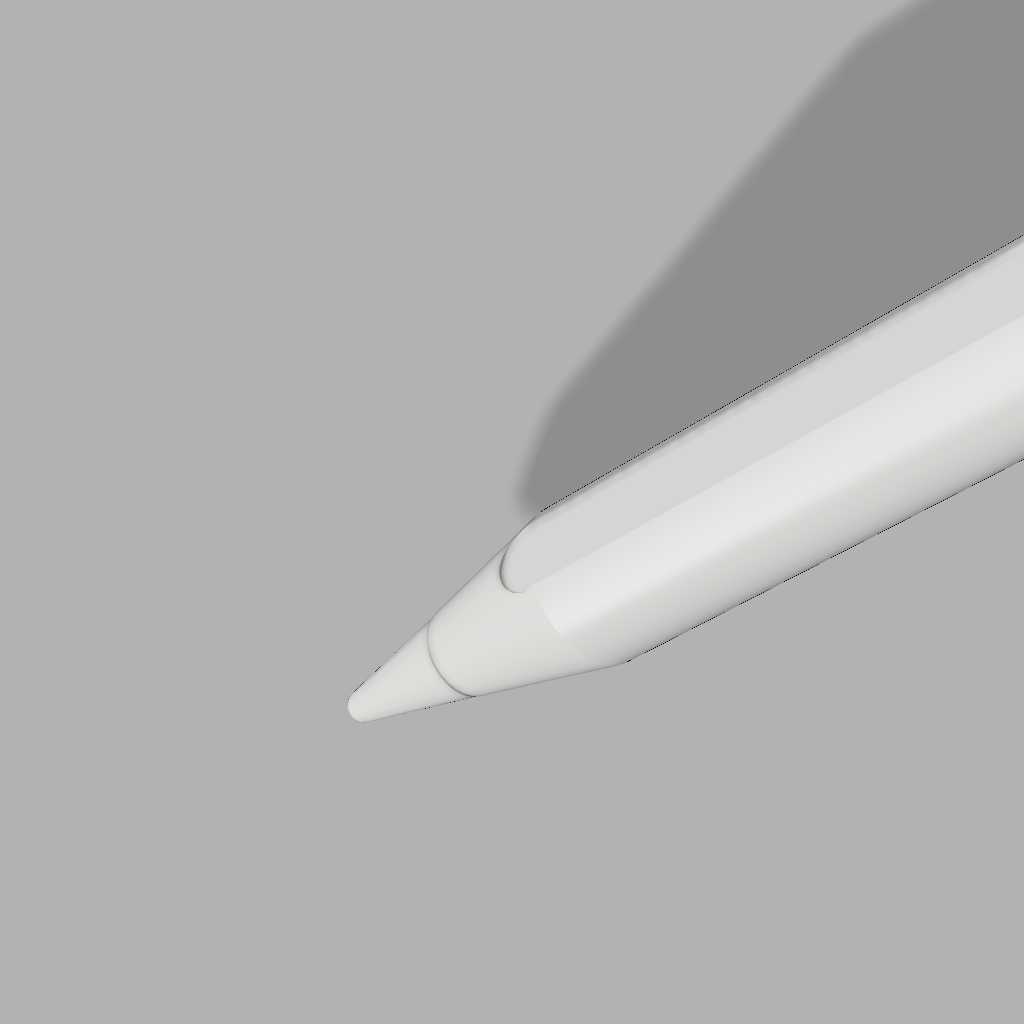
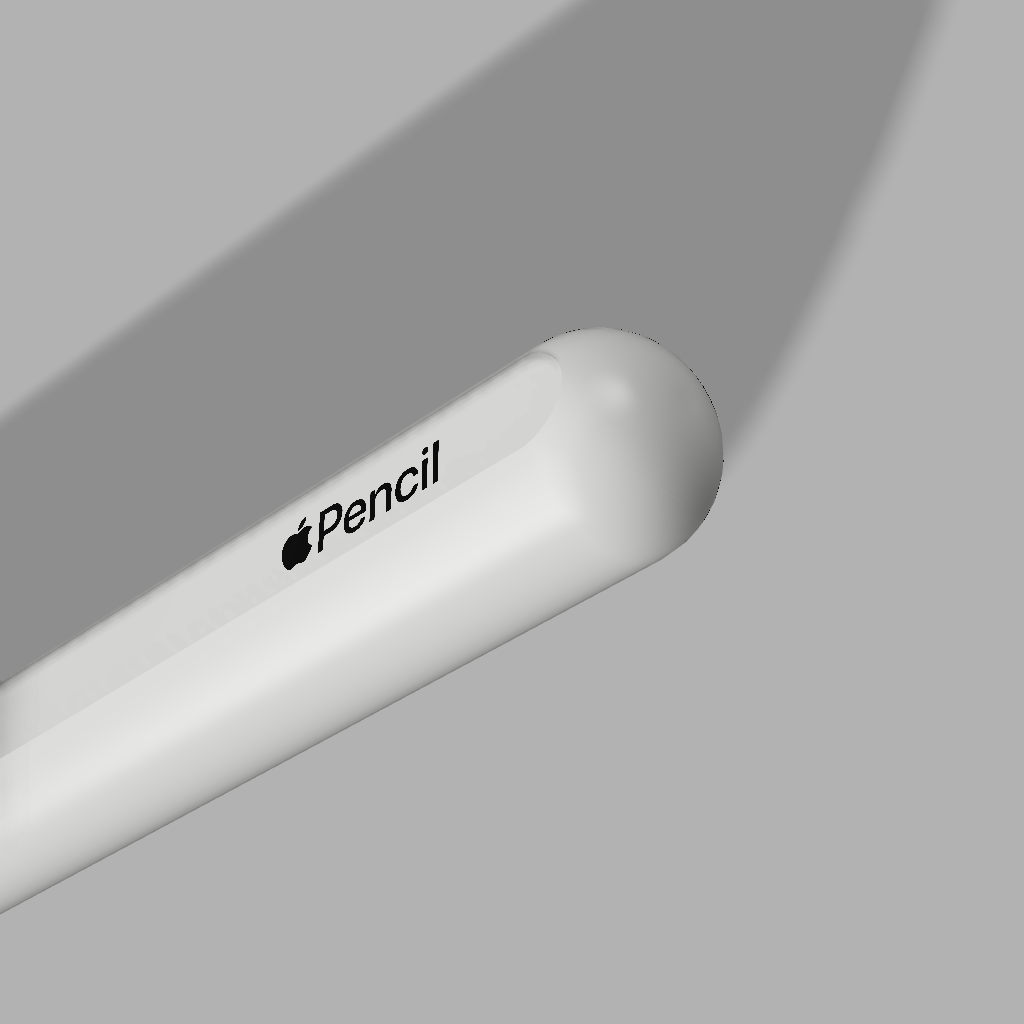
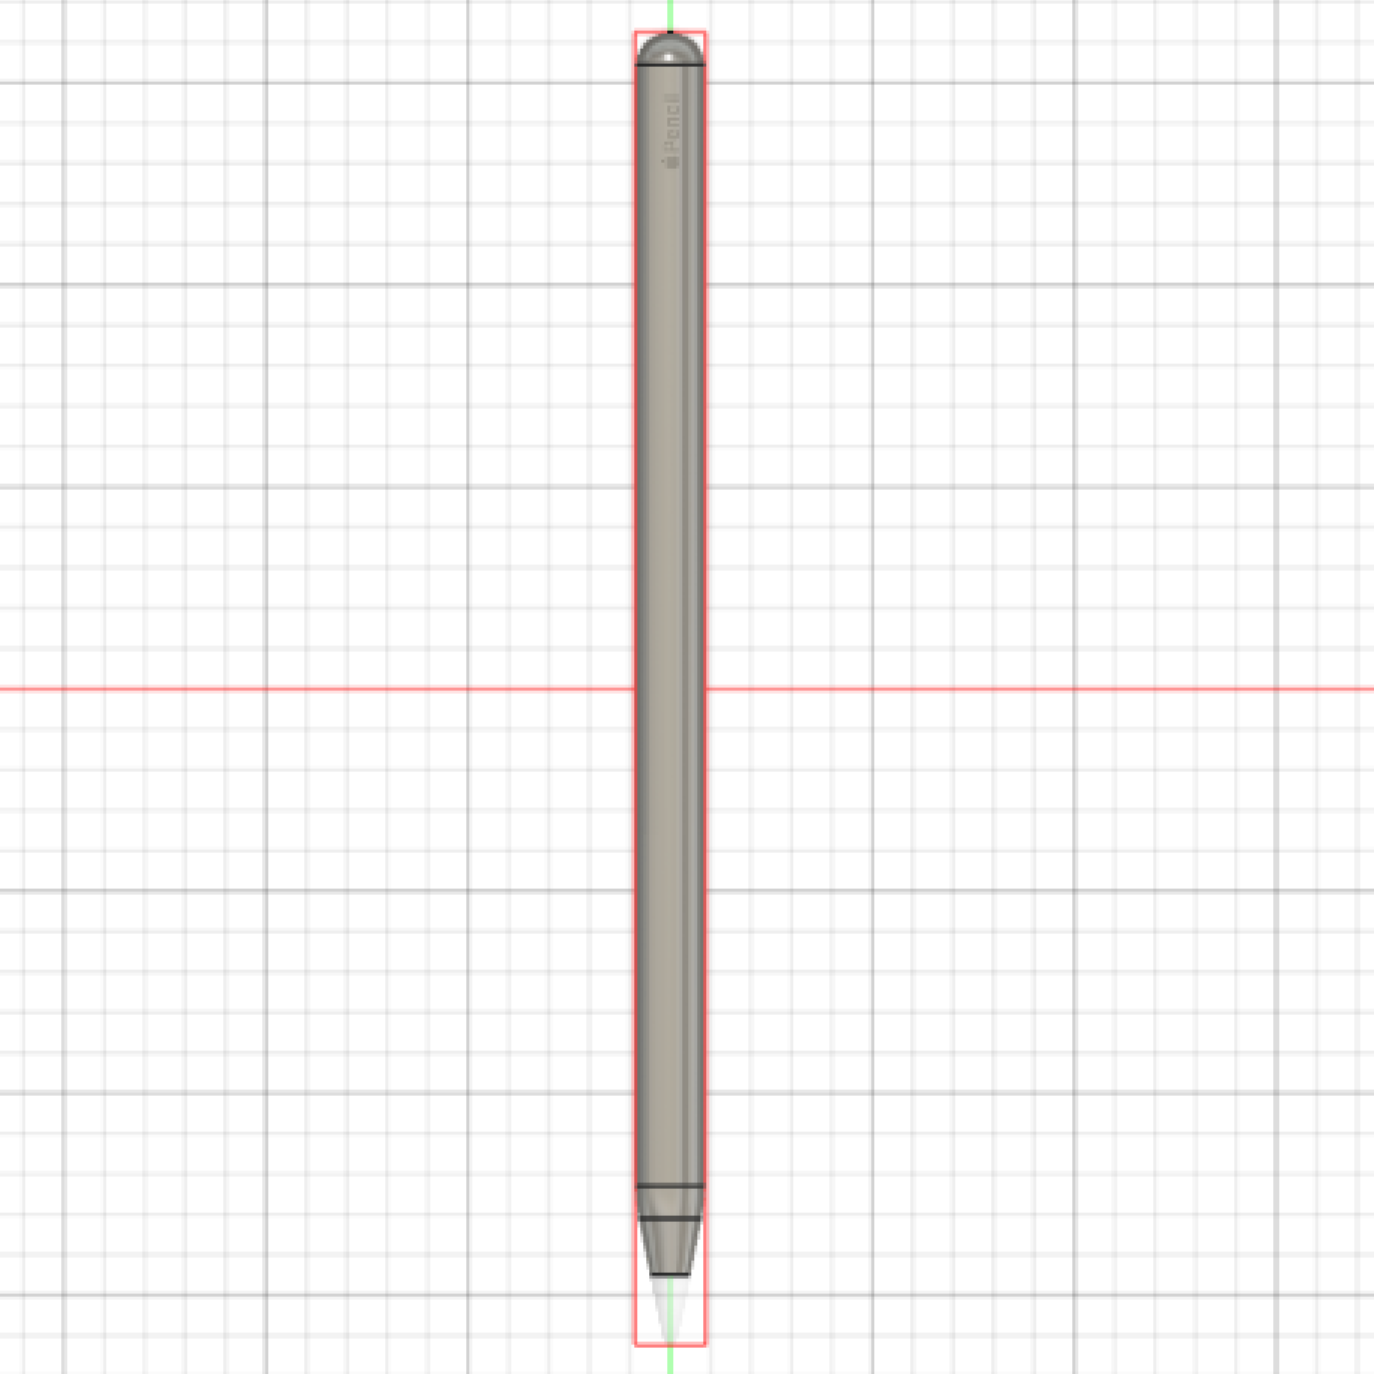
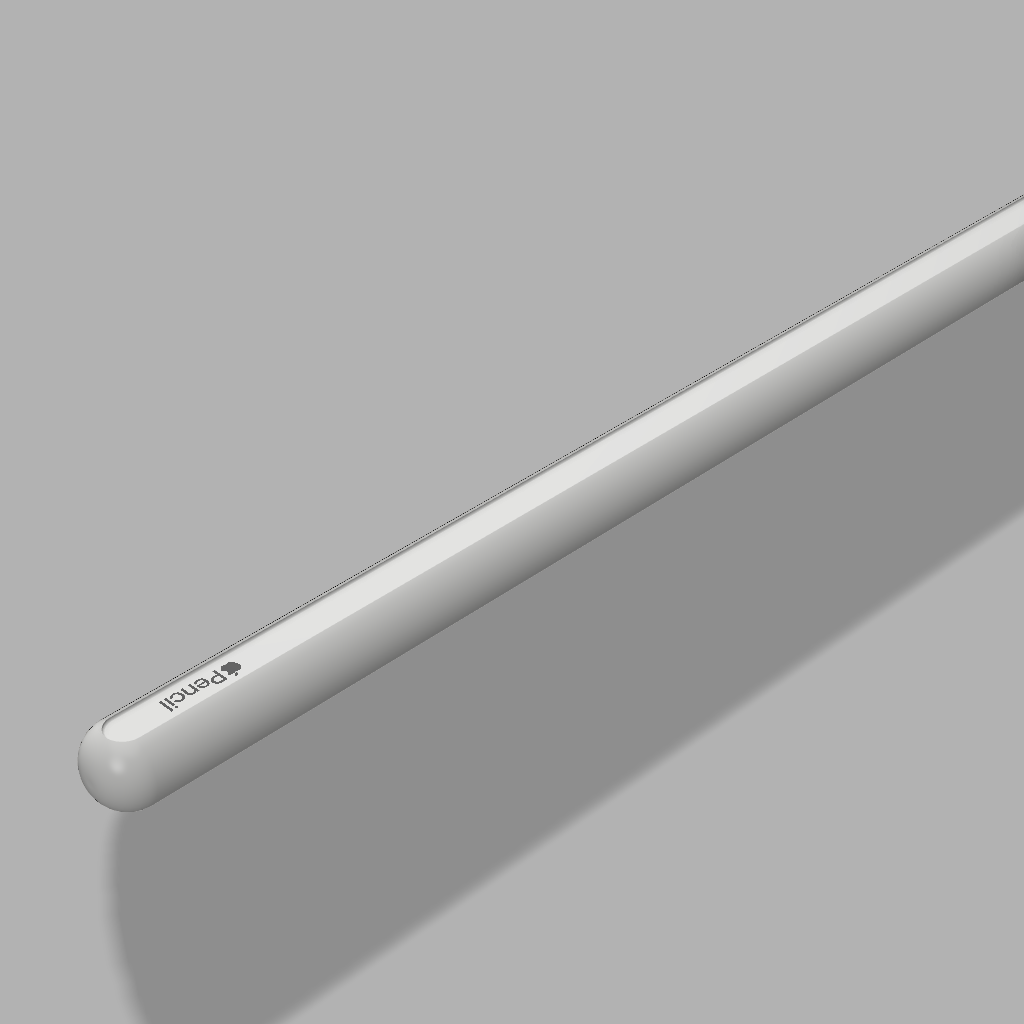
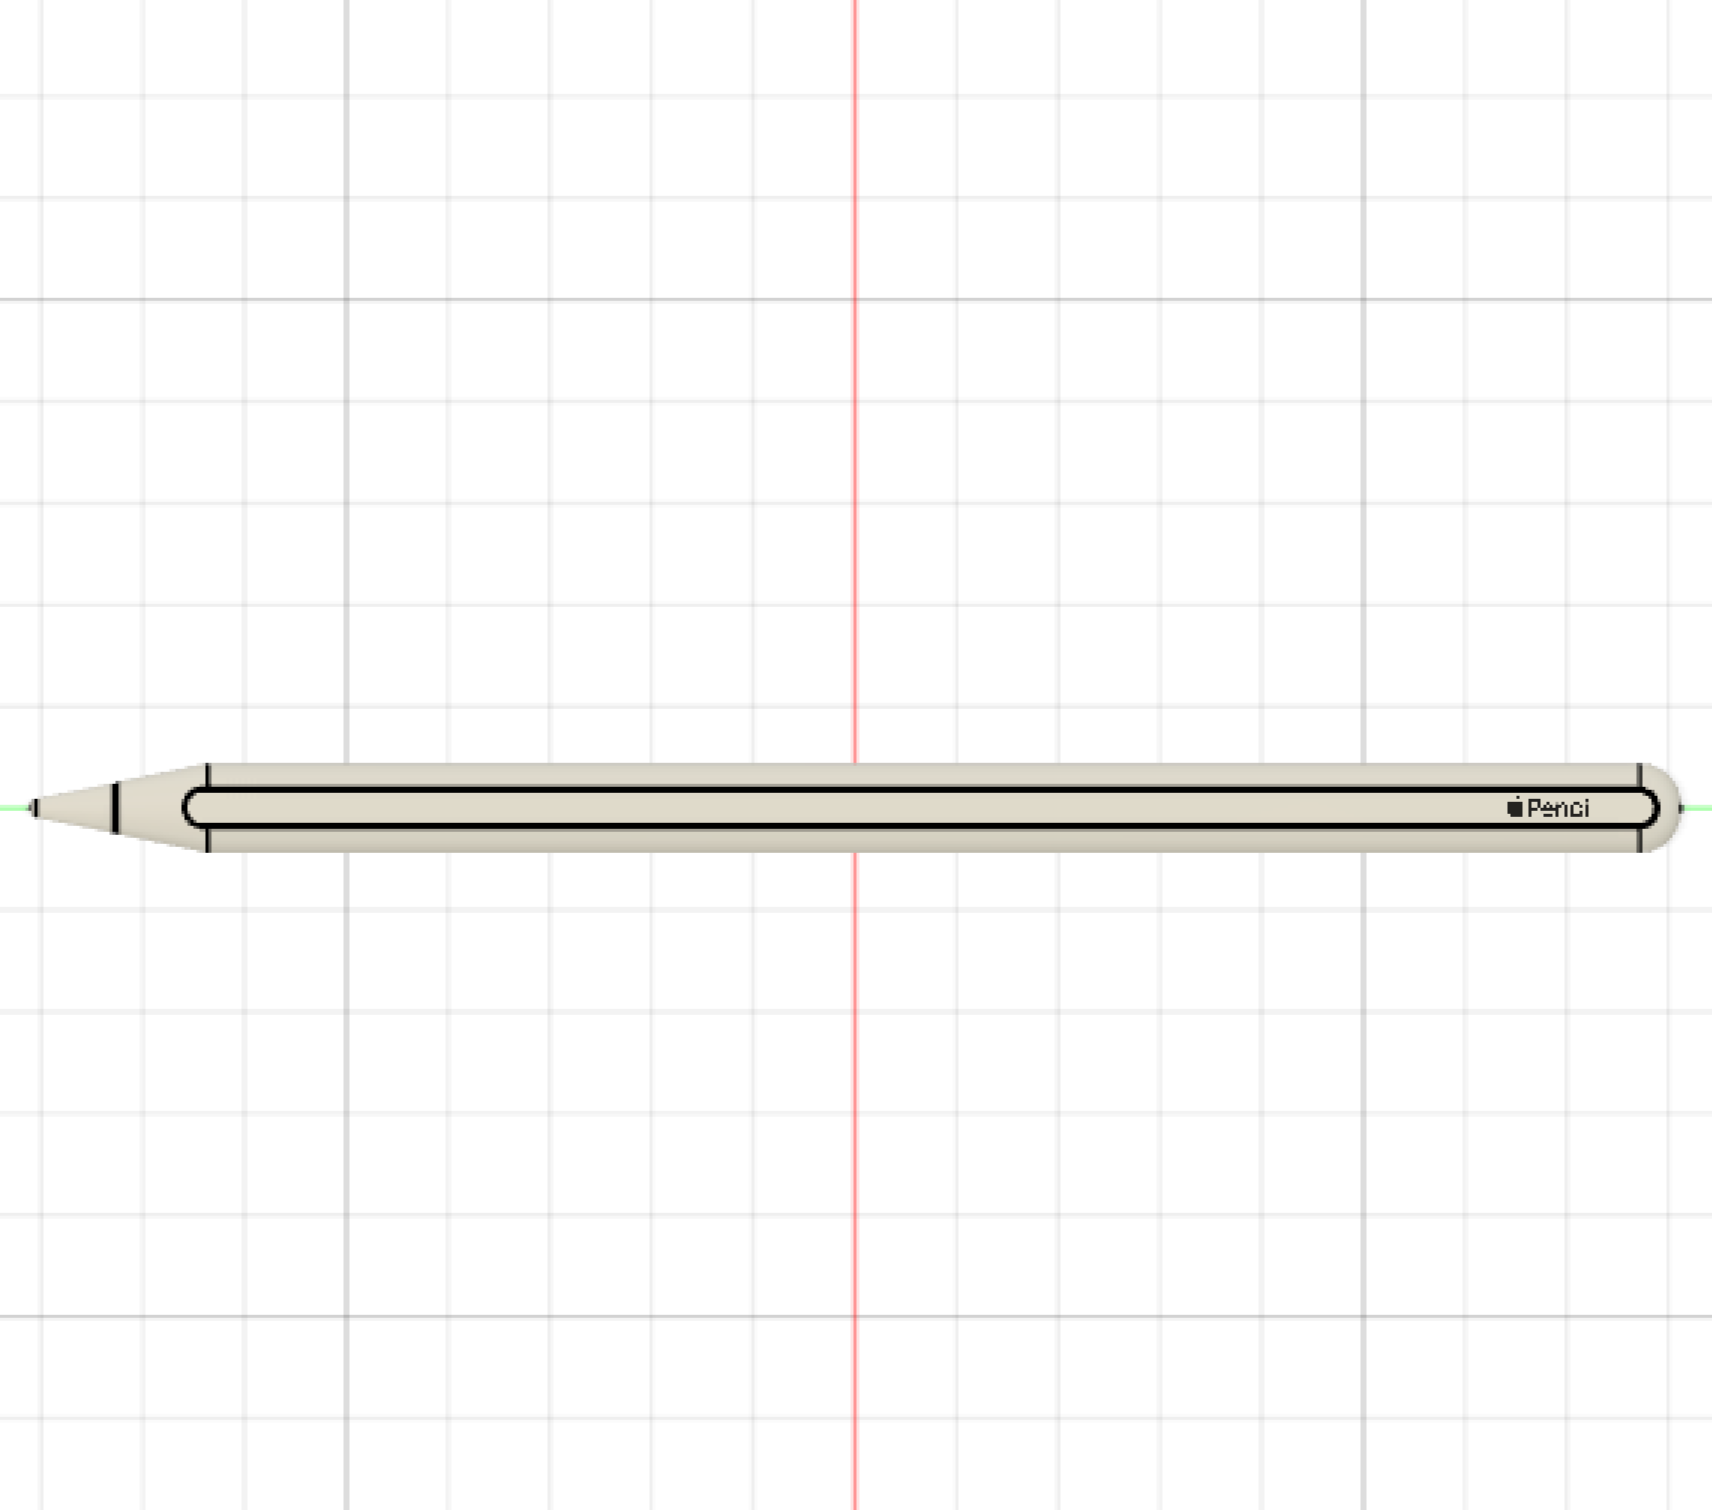
- I chose two simple household items: one, my apple pencil, and two, a thumbtack. In the
process of making the Apple Pencil, I learned about the importance of choosing a solid
versus a
surface when rotating, how to cut and filet with 3D objects, and how to add decals and
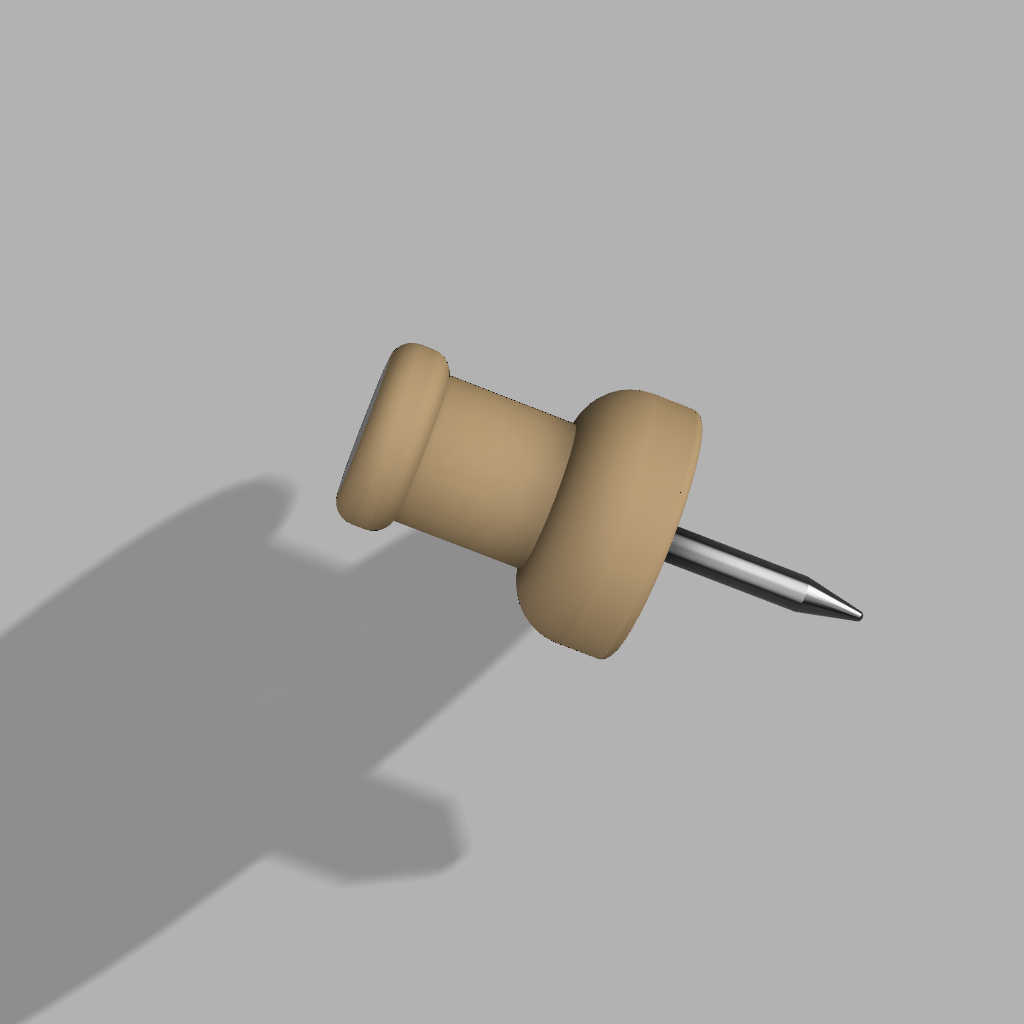
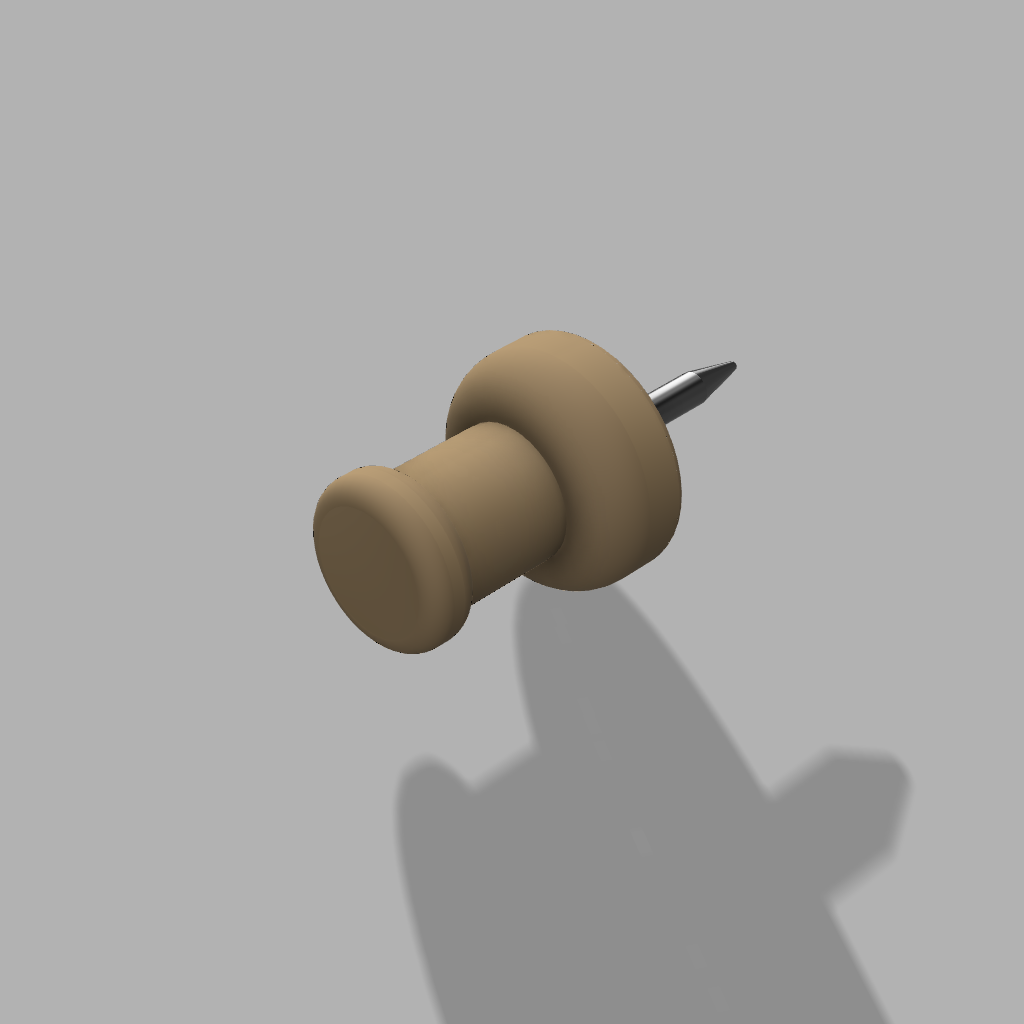
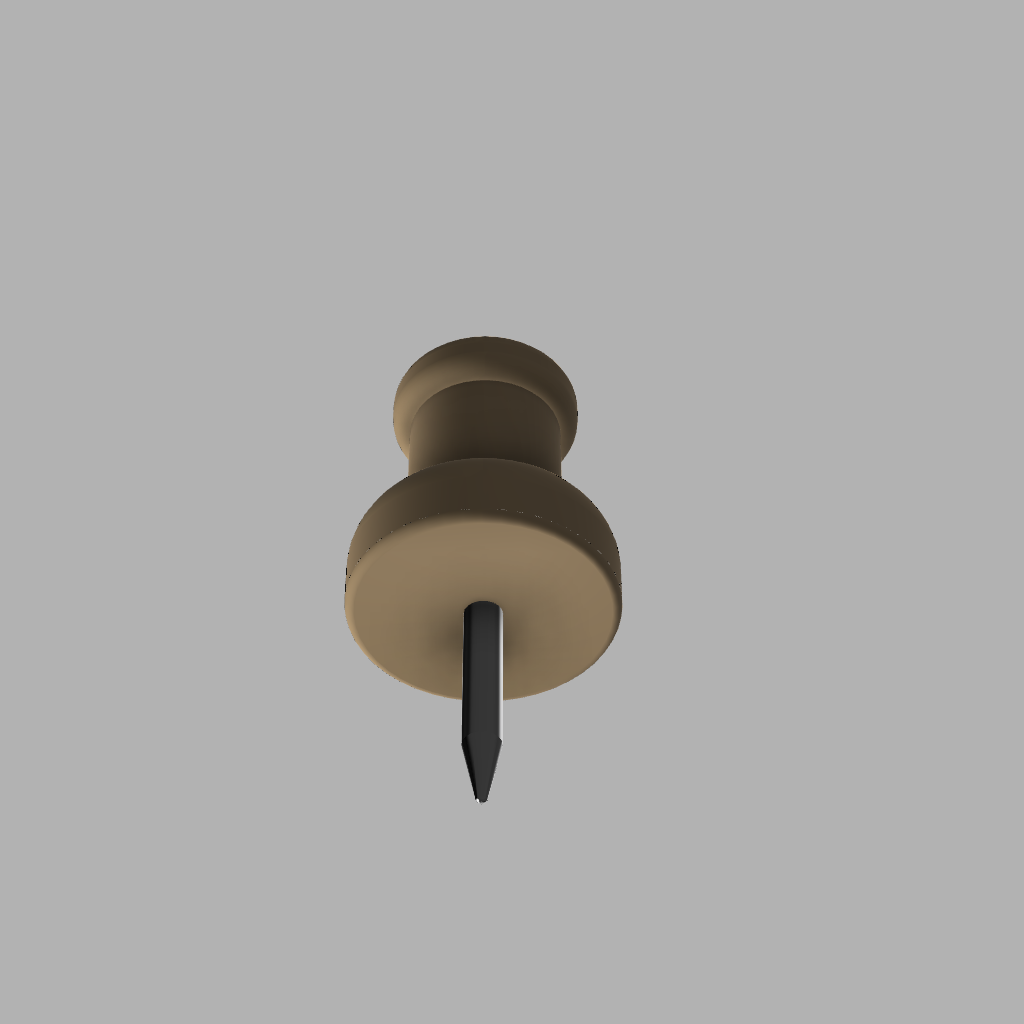
canvases. The thumbtack was relatively easier after that, though I did learn how to
apply different materials to different portions of my shape in the process.
For the apple pencil (second generation), I measured (with the calipers): 8.18mm diameter (pencil body), 4.80mm diameter (pencil tip), 8.60mm tip length.
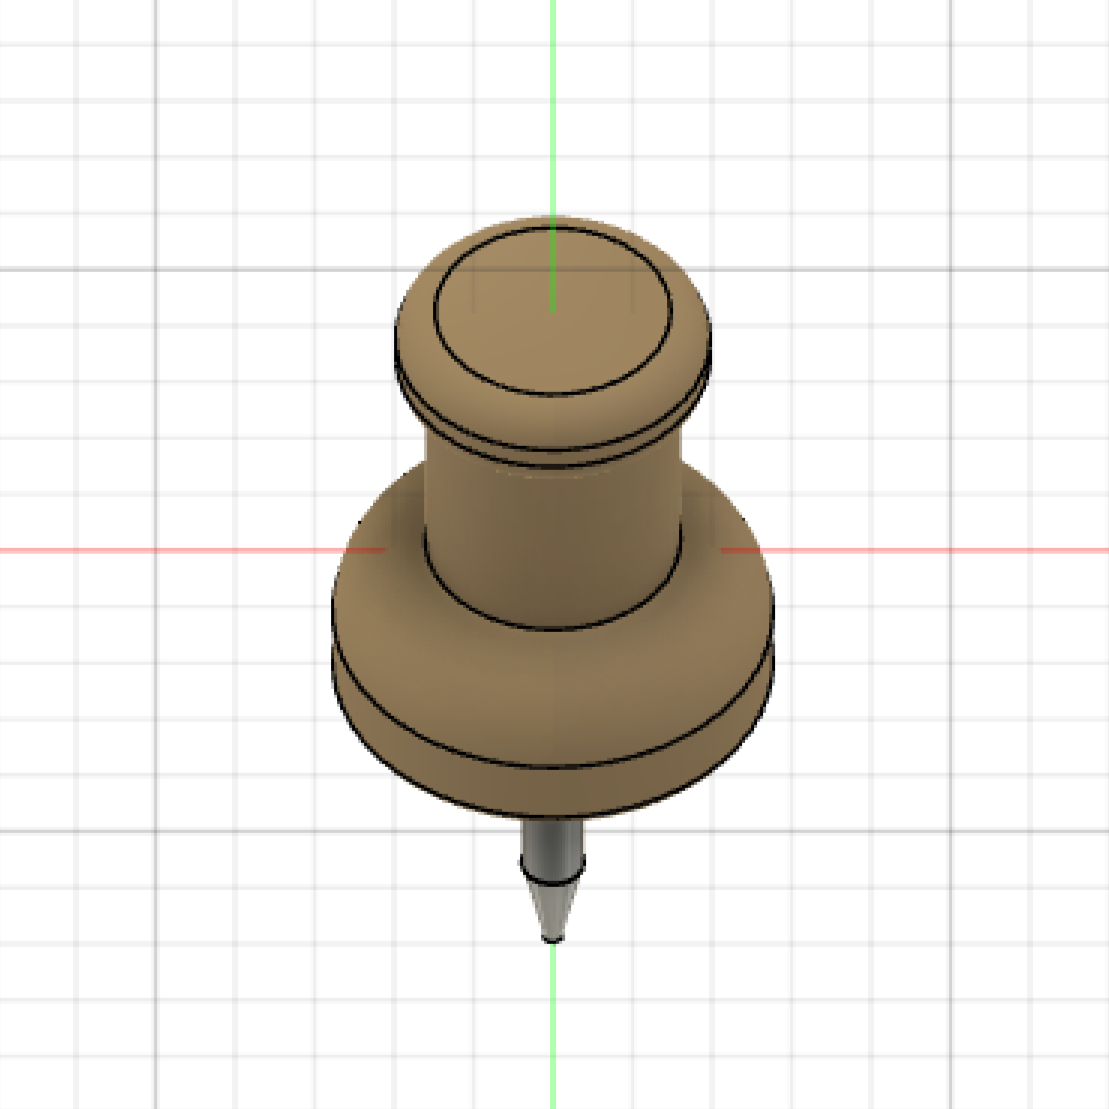
For the thumbtack, I measured (again with the calipers): 6.35mm diameter (on the top), 9.53mm tack length, 9.51mm diameter (on the bottom), 3.18mm diameter (in the middle).
Photos
-
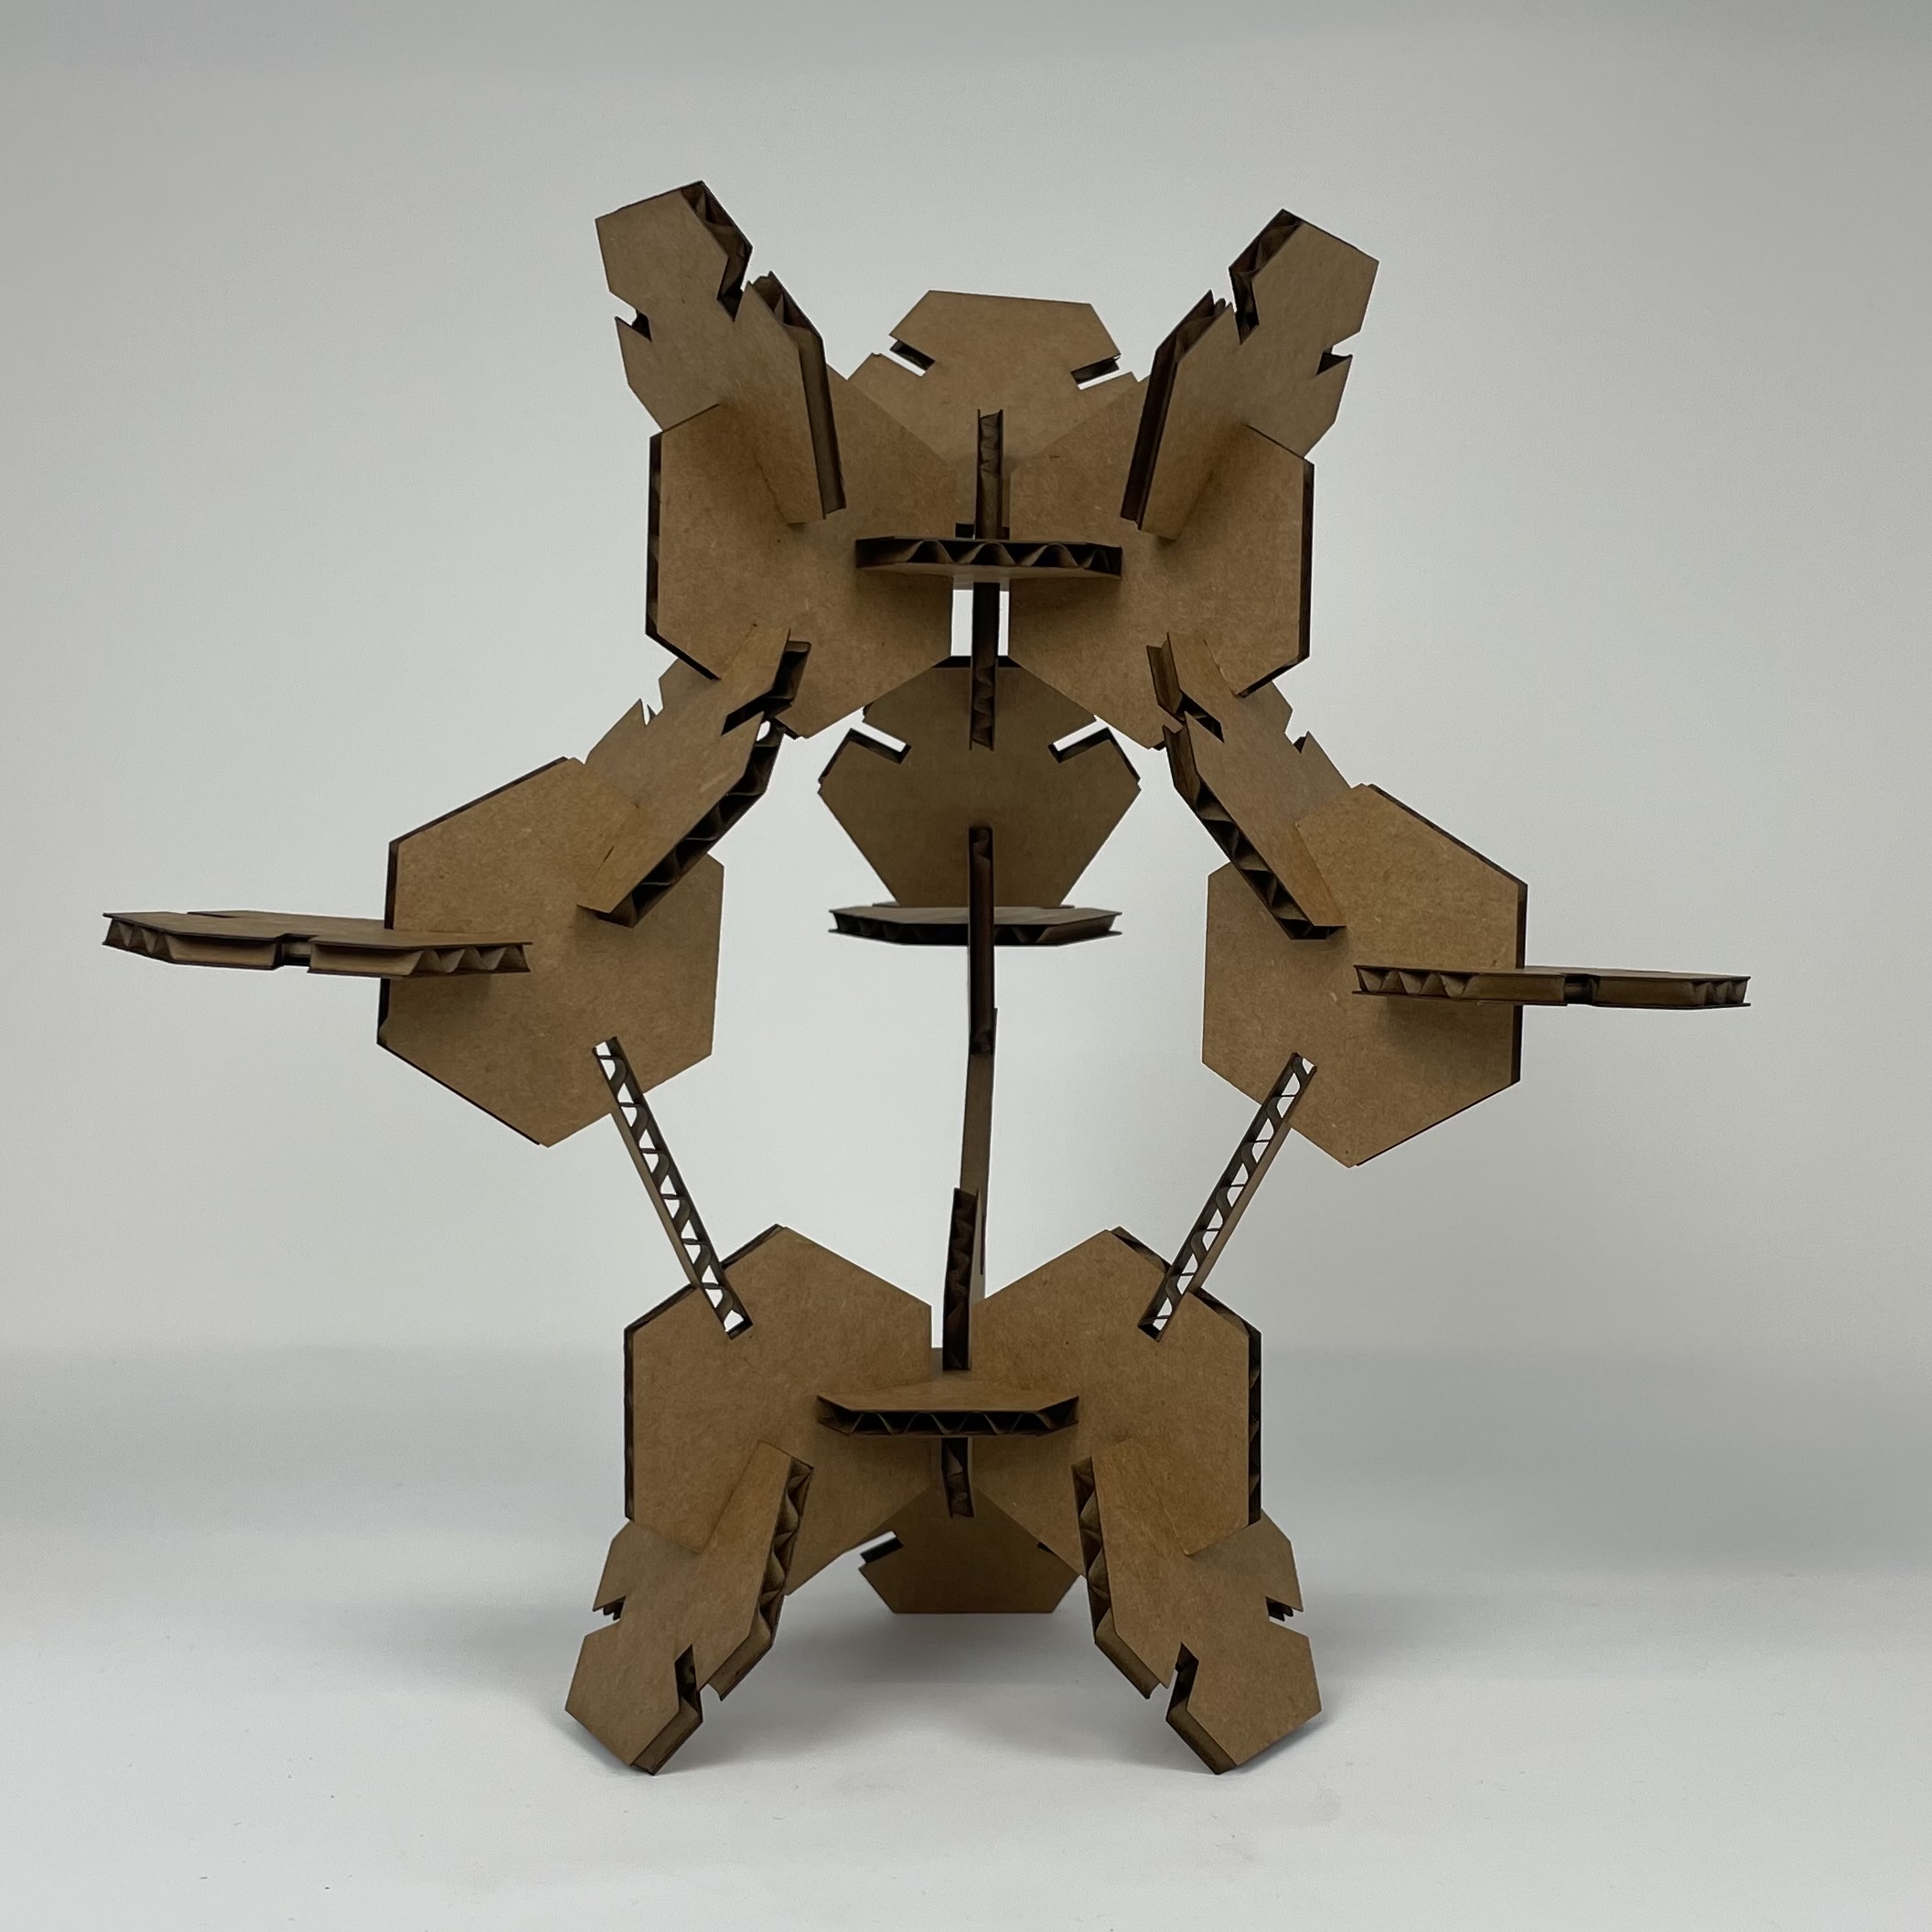
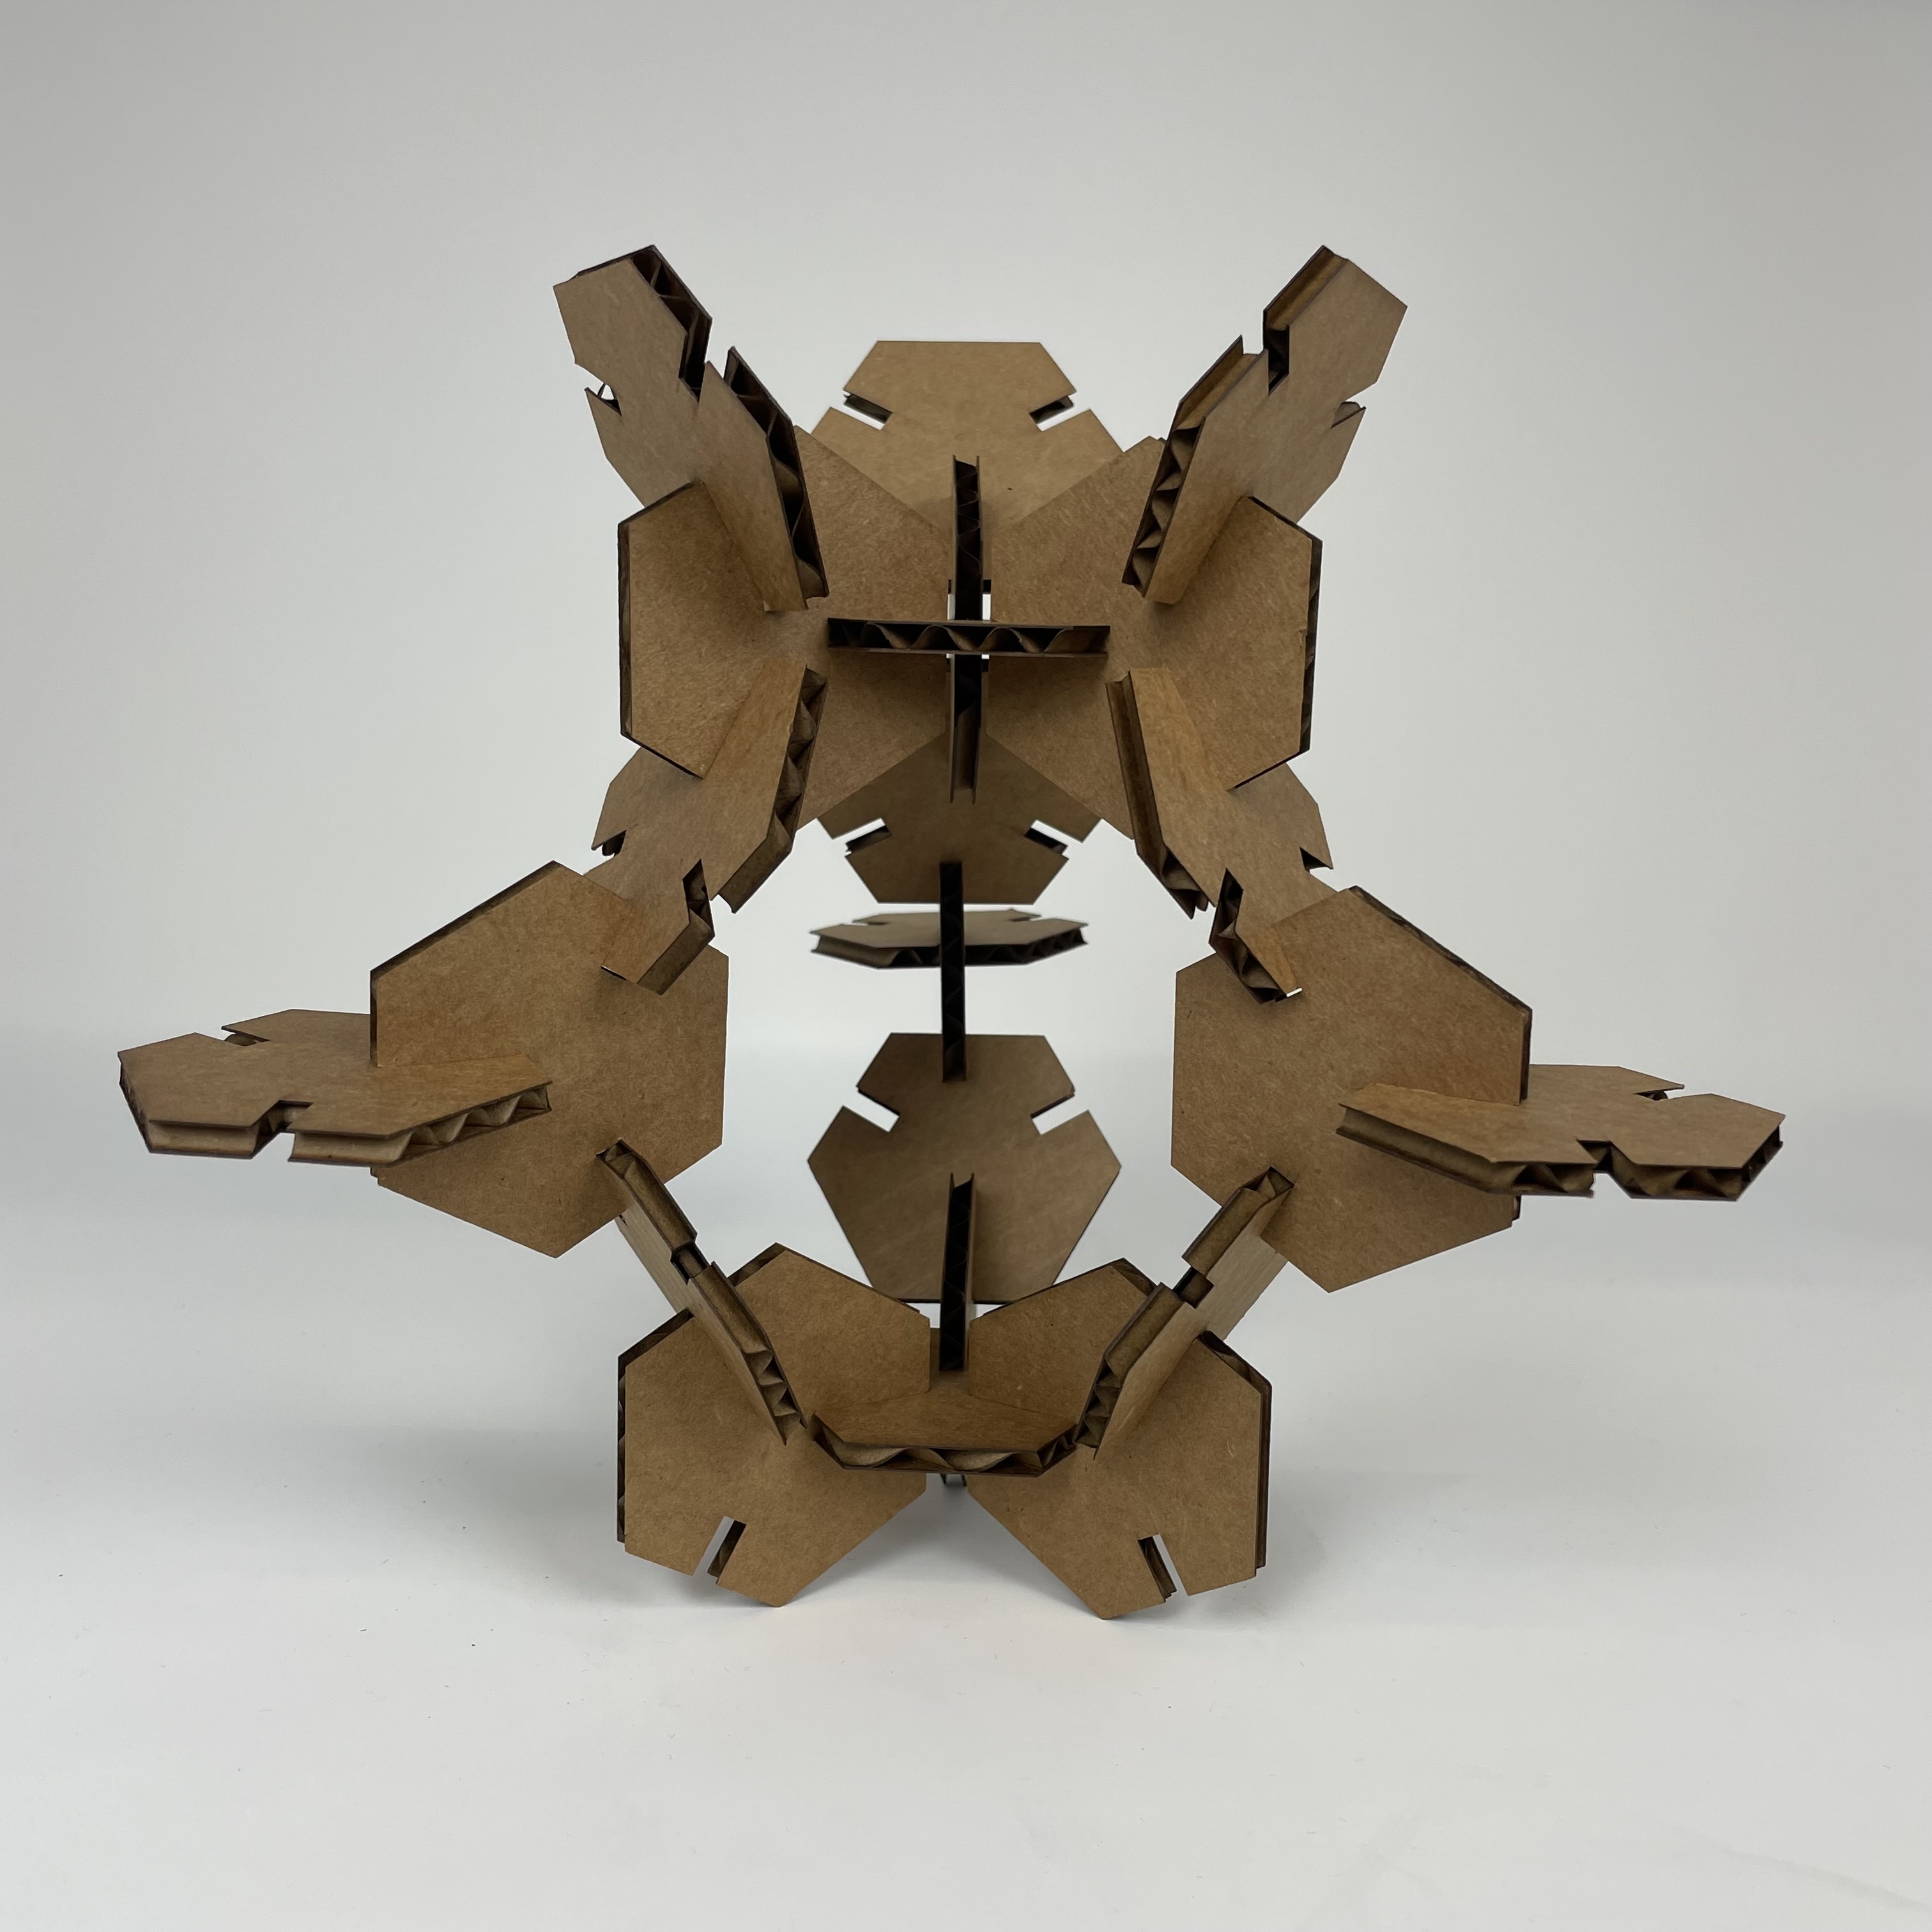
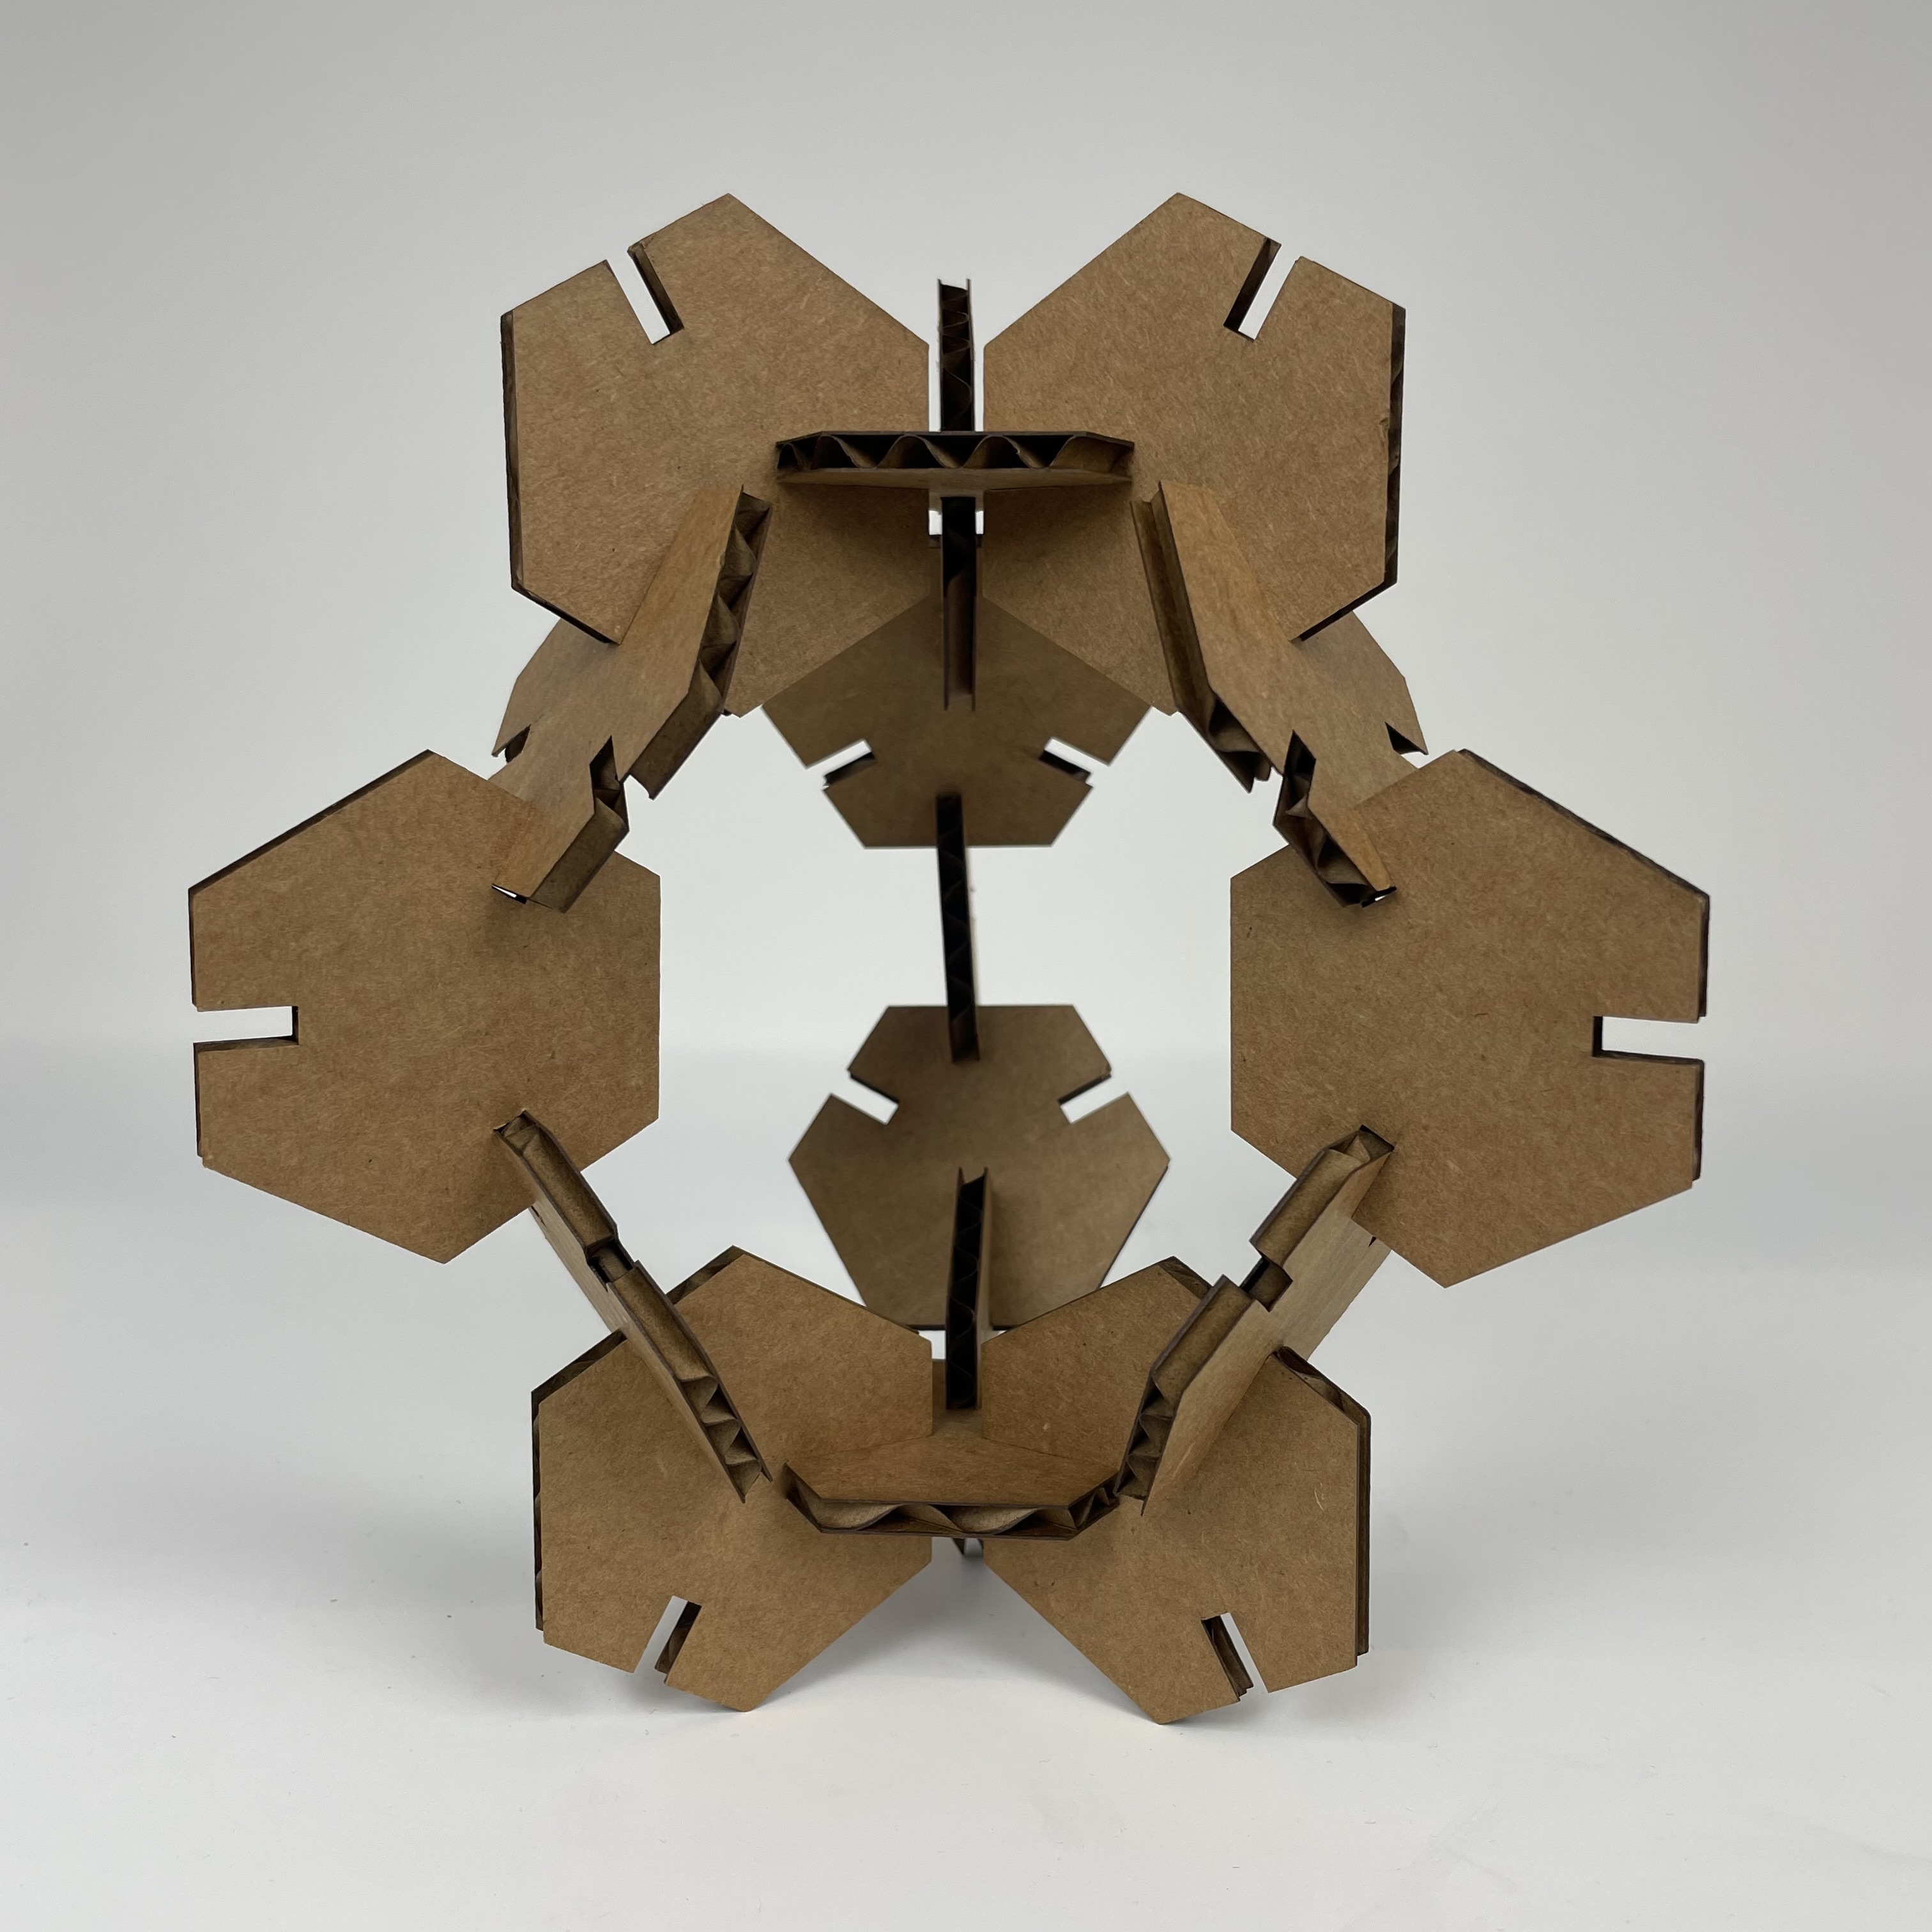
The geometry of the pieces creates some pretty fun shapes. The first shape used some small rectangular pieces that I had originally made for a tiny chair for my Smiski. Those pieces went flying on the way home in the cold, so I played around and found some other fun configurations, which you can see below. I decided to project into 3D and change the material around a bit just to get a feel for Fusion.
-
Below are a few photos of the apple pencil and thumbtack both in-progress and finished.

Takeaways
-
I learned, vaguely, how to laser cut in high school, but I'd never learned about kerf and accounting for it. It makes a lot of sense as to why my press-fit construction sheep in high school never stuck together that well. I also really enjoyed exploring the different configurations of the pieces and how adding or taking away slots to allow the hexagons to join changed the sculptures I could make.
-
This was my first time working with any sort of modeling software, so this tutorial was extremely helpful. It introduced me to the concepts and tools needed to model in Fusion 360. I briefly messed up in the tutorial and extruded my circle as a surface instead of a solid, so I learned a bit about the different types of objects in Fusion.
-
This was so tough! Modeling the pencil taught me a lot about extrusions, about how to make complex shapes and curves (filleting, cutting and intersecting bodies, etc.), and about how to render the objects I modeled. I struggled for a while trying to change the material and add a decal, but once I figured it out, it made the modeling of the tack so much easier. The tack was a much more challenging shape but was surprisingly easy to model. Once I figured out the right way to get it to be symmetric in multiple directions, it was just a matter of intersecting the bodies.