Week 5
3D design & printing
Assignment Prompt
-
Design and print a small object that could not be (easily) made by subtractive methods. Upload your 3D model file, STL file, and sliced gcode file to your documentation.
-
Scan something using a photogrammetry, LIDAR, or other application.
-
Inspiration
-
Process
-
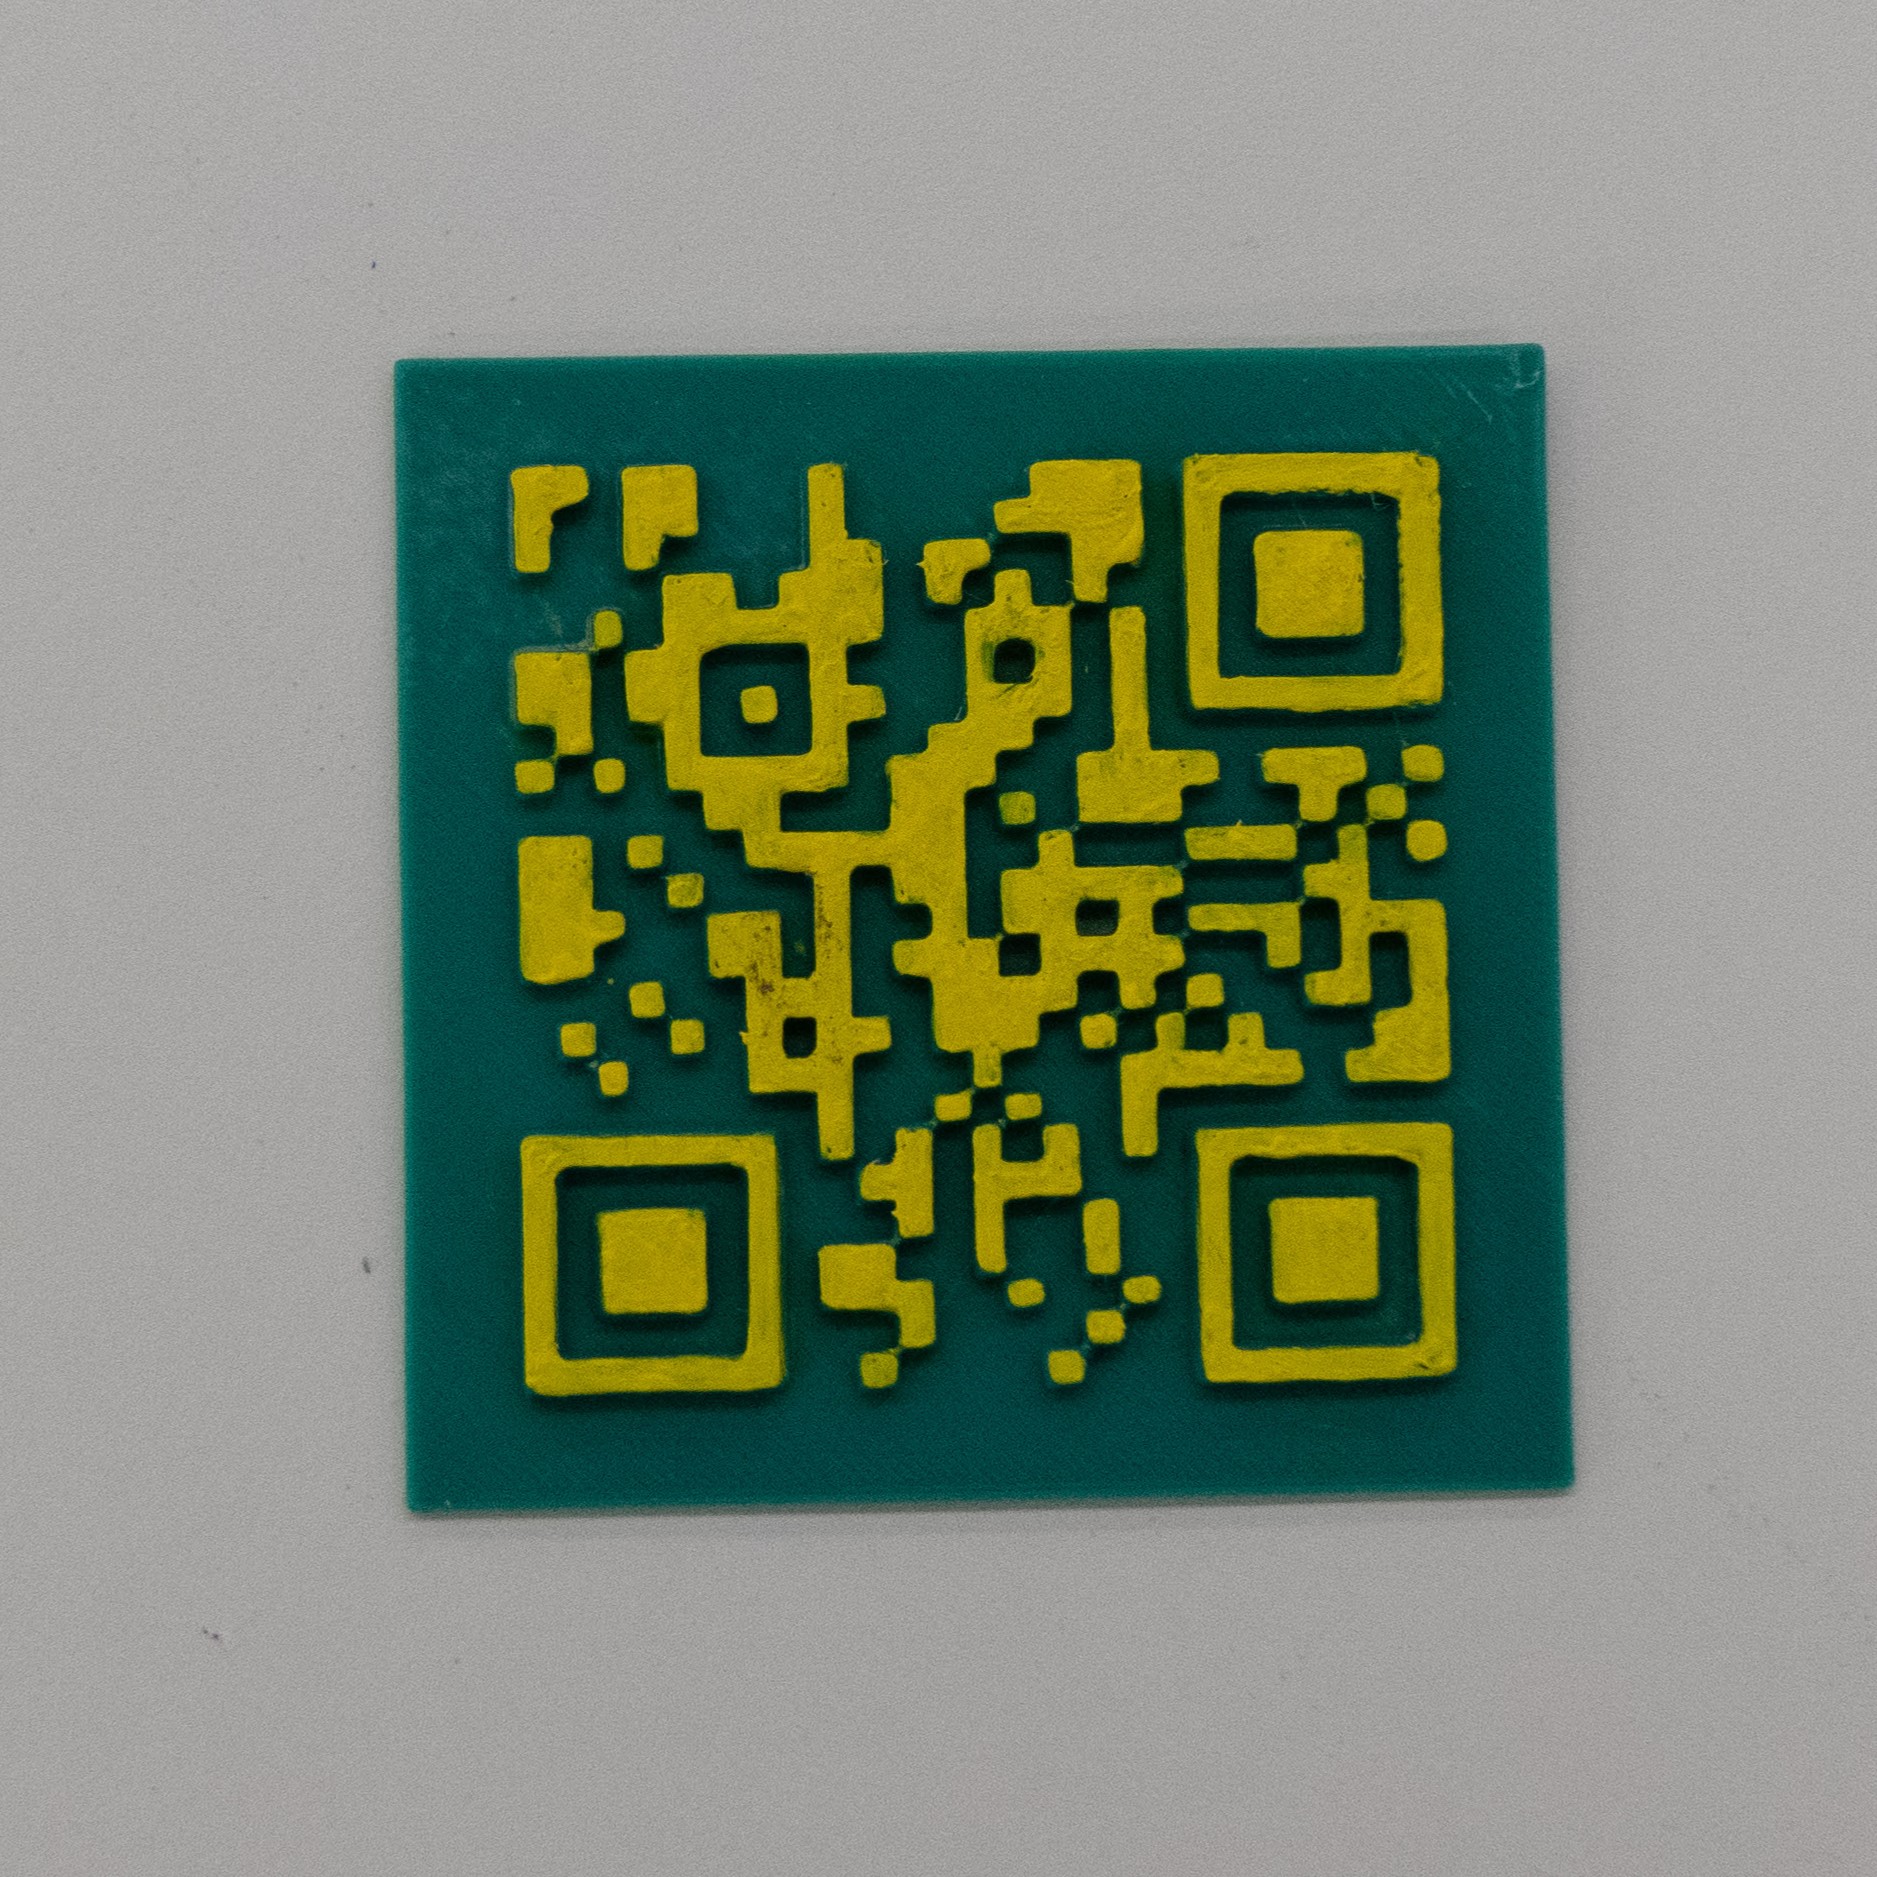
For the 3D printing assignment, I decided it would be fun to design a QR code stand for the final project fair. The QR code I printed would link to my PS70 website so that folks could view my other assignments. My inspiration came from this Printables project in which someone printed a QR code for WiFi access.
-
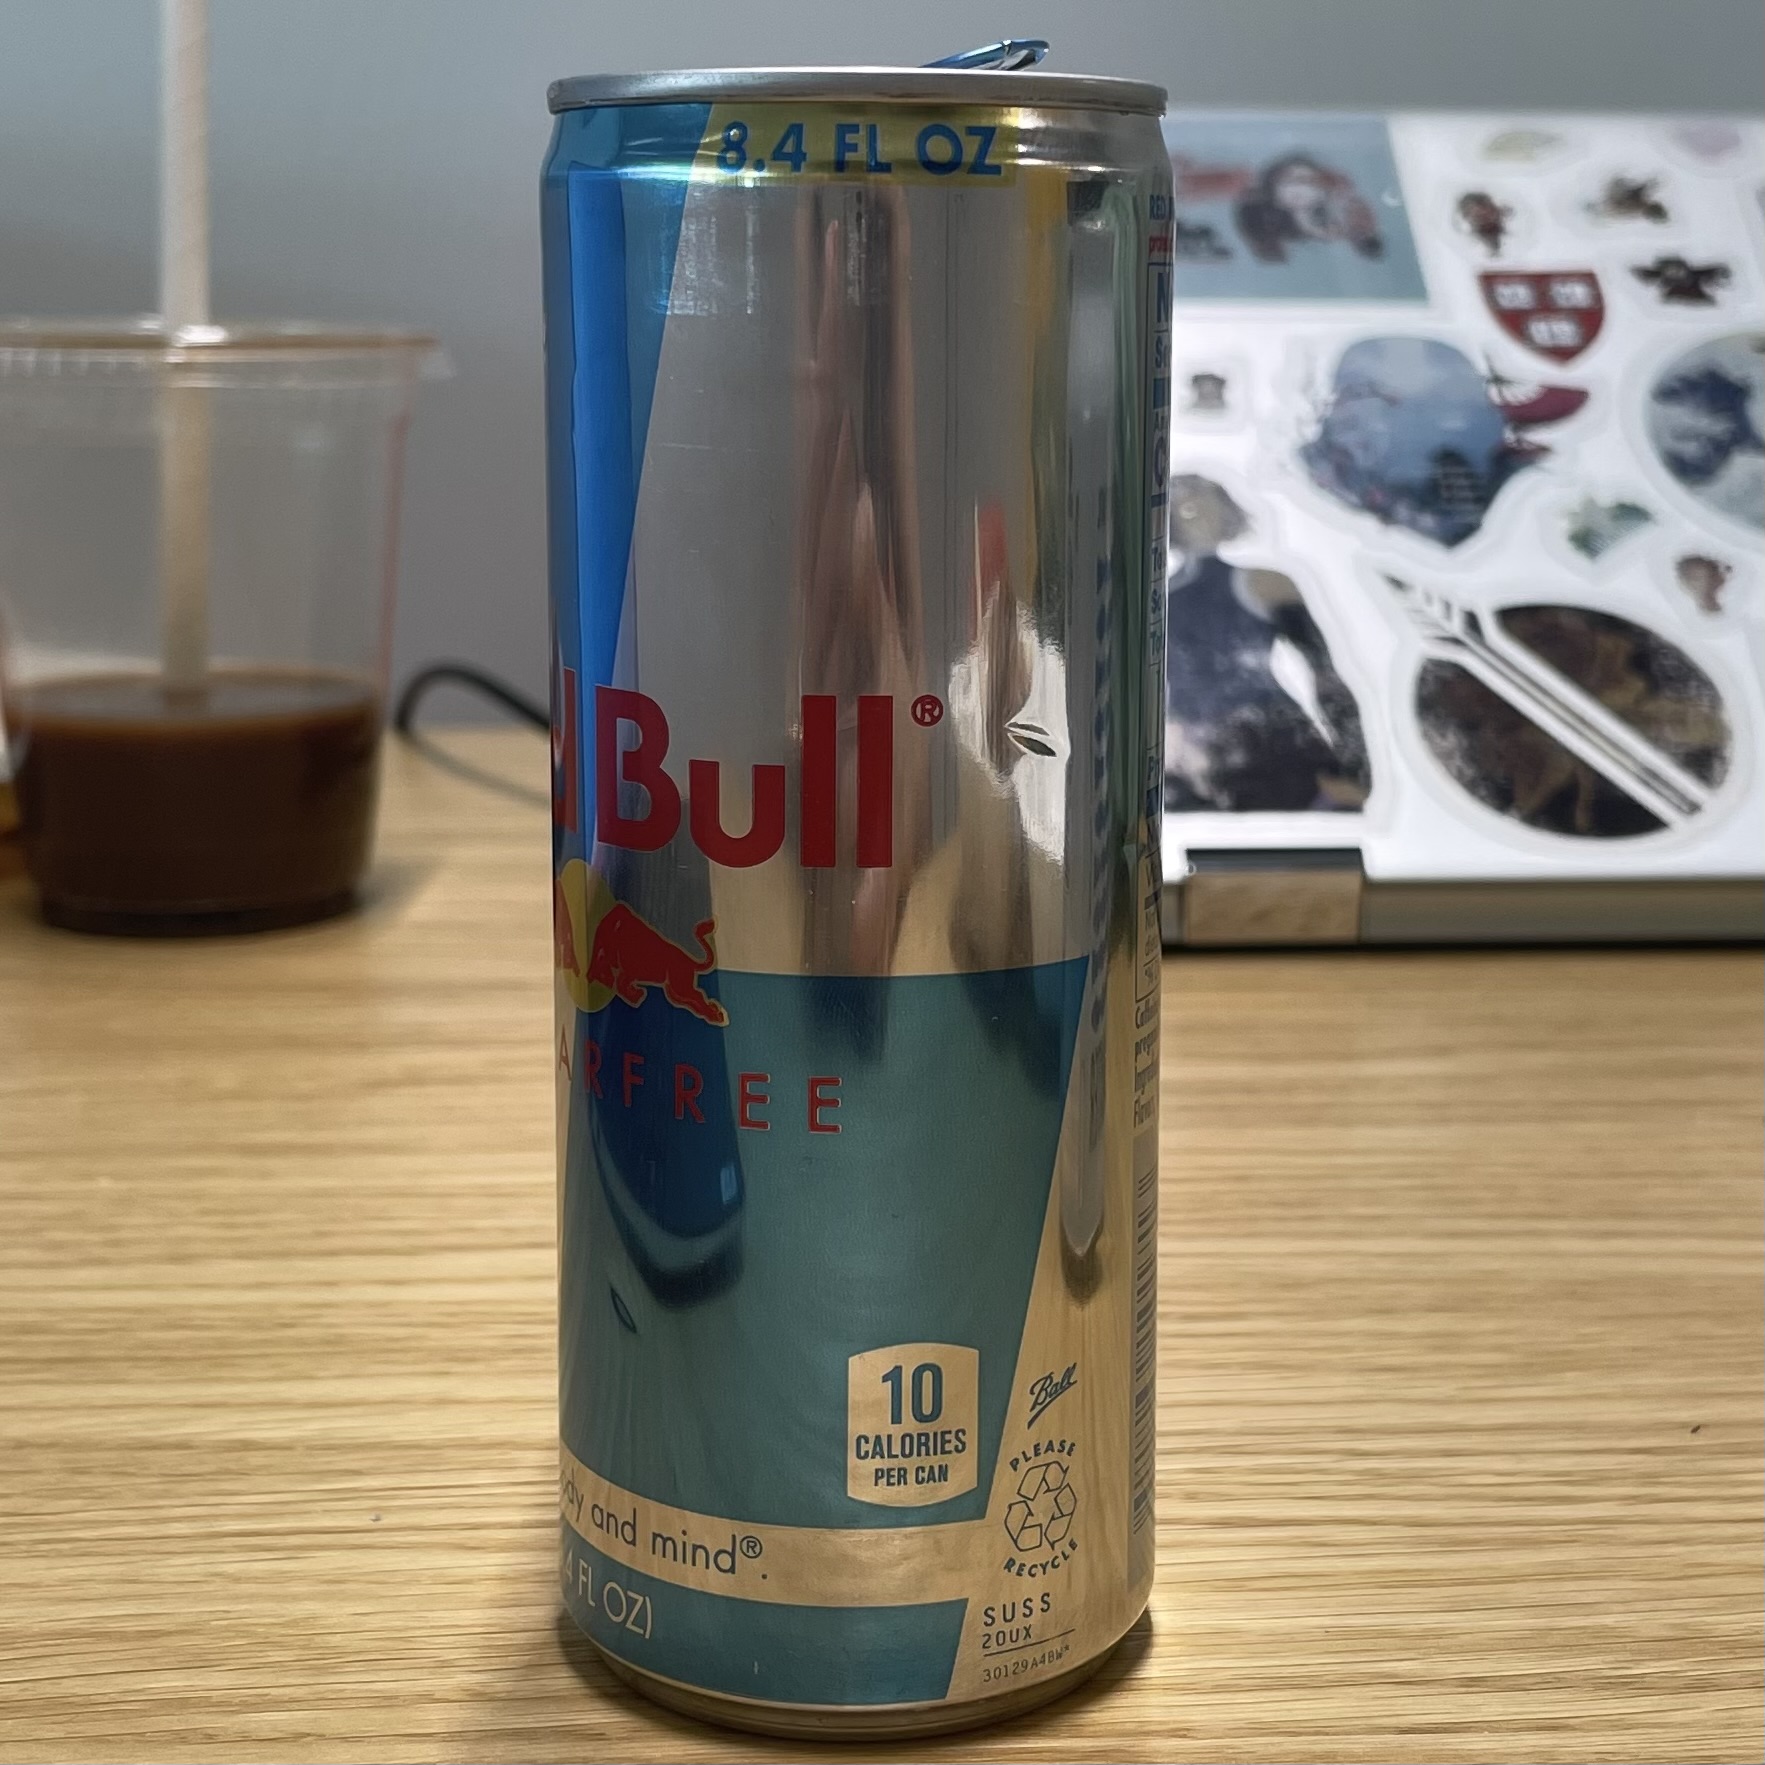
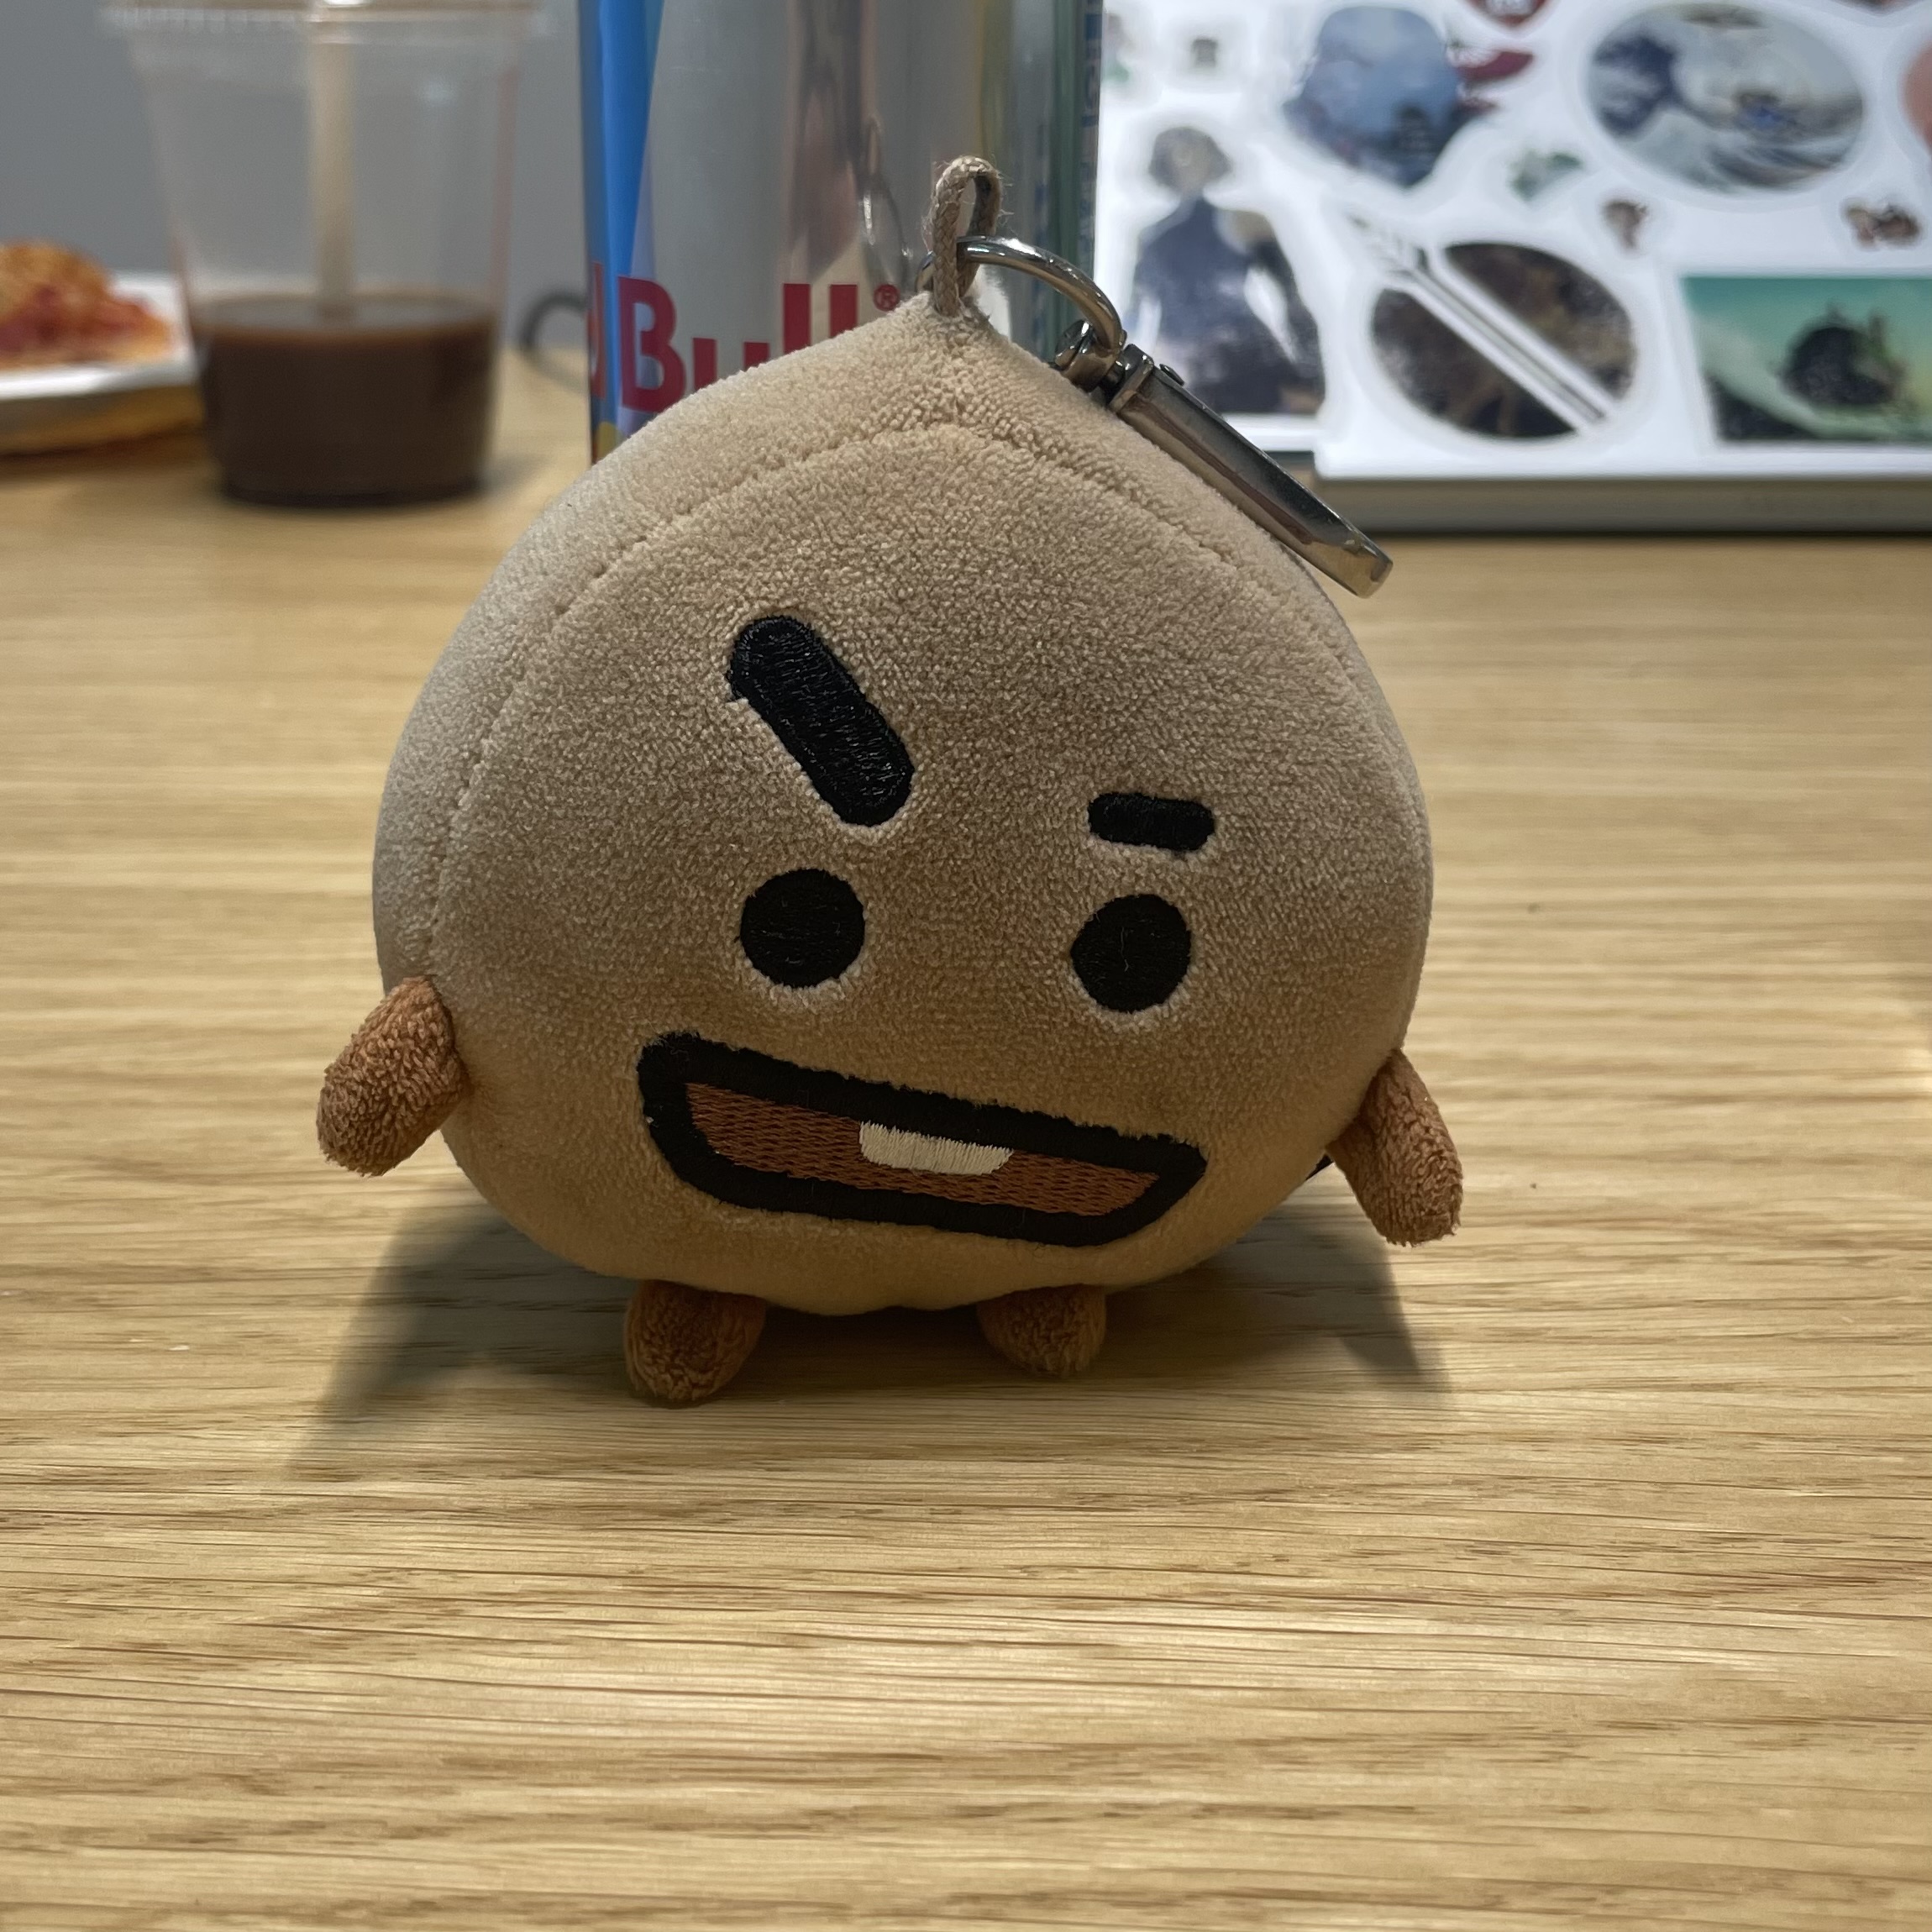
For this assignment, I used the Polycam application on my iPhone. I scanned a can of red bull with (some) success, and a near and dear Shooky the cookie plushie that I got when I was but a mere high schooler. Perhaps because of the shininess of the can, but Polycam had some trouble modelling the Red Bull. Where there were reflections of objects in the can, there are divots. The Shooky model came out quite well, though, as the shape and size were captured accurately. To get photos from every angle of the plushie, I moved it manually, which led the little metal hook at the end of the plushie to split into three. I solved this by cropping it out.
-
Process
-
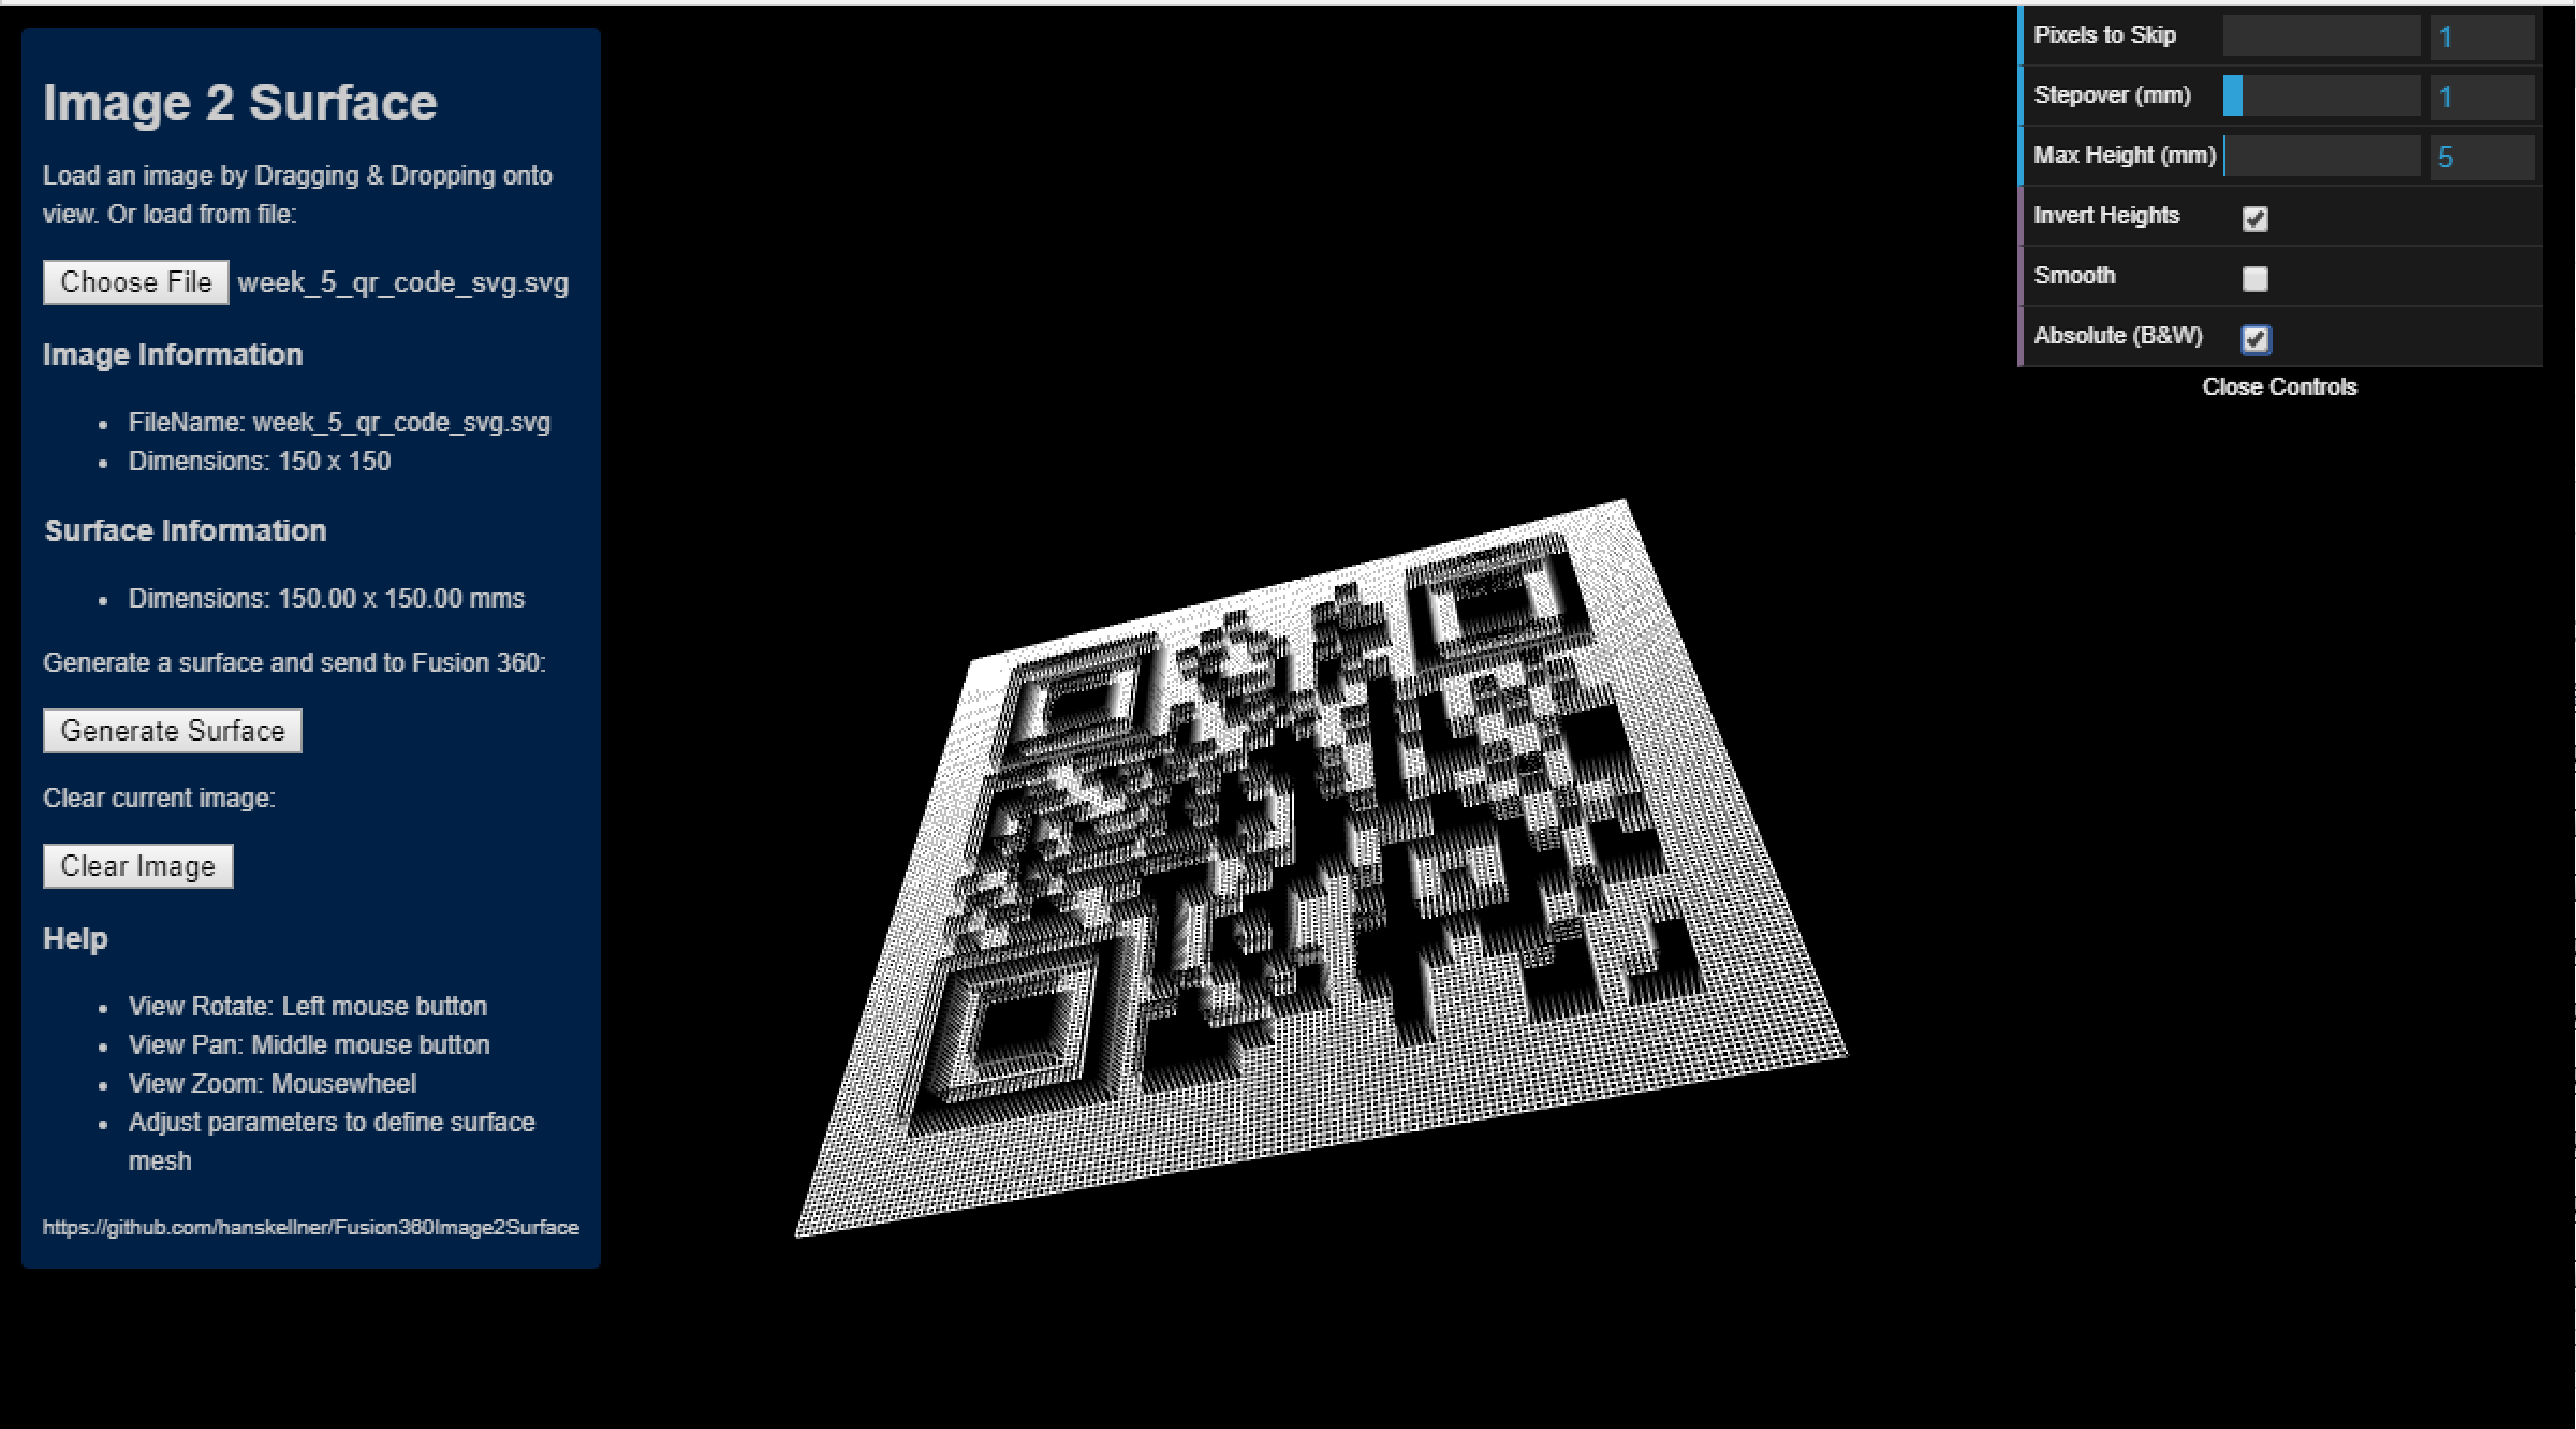
My original thought for making the QR code was that I would get a QR code, add it to my sketch as a canvas in Fusion 360, trace over it, and extrude the squares into shapes. This sounded, though, tiring and annoying. Instead, I found the QRCoder add-on for Fusion 360, an extension that would supposedly turn my QR code into a Fusion 360 body. It required the installation of a Python library that I am CONFIDENT I installed but it refused to recognize, so I had to settle for a second option. Instead, I found the Image2Surface add-on, which was significantly easier to install. After creating a QR code and creating the mesh of it using Image2Surface, I simply combined it with a rectangular back plate and printed it.
To make it stand, I cut a small base out of wood and slotted the QR code into it. To get the proper color contrast required for a QR code to scan, I ended up painting the raised portions yellow since I was not sure how to print with two fillaments and the printers were mostly taken up aside from the one loaded with green fillament.
Photos

Files
-
Click the links below to download.
-
Click the links below to download.